
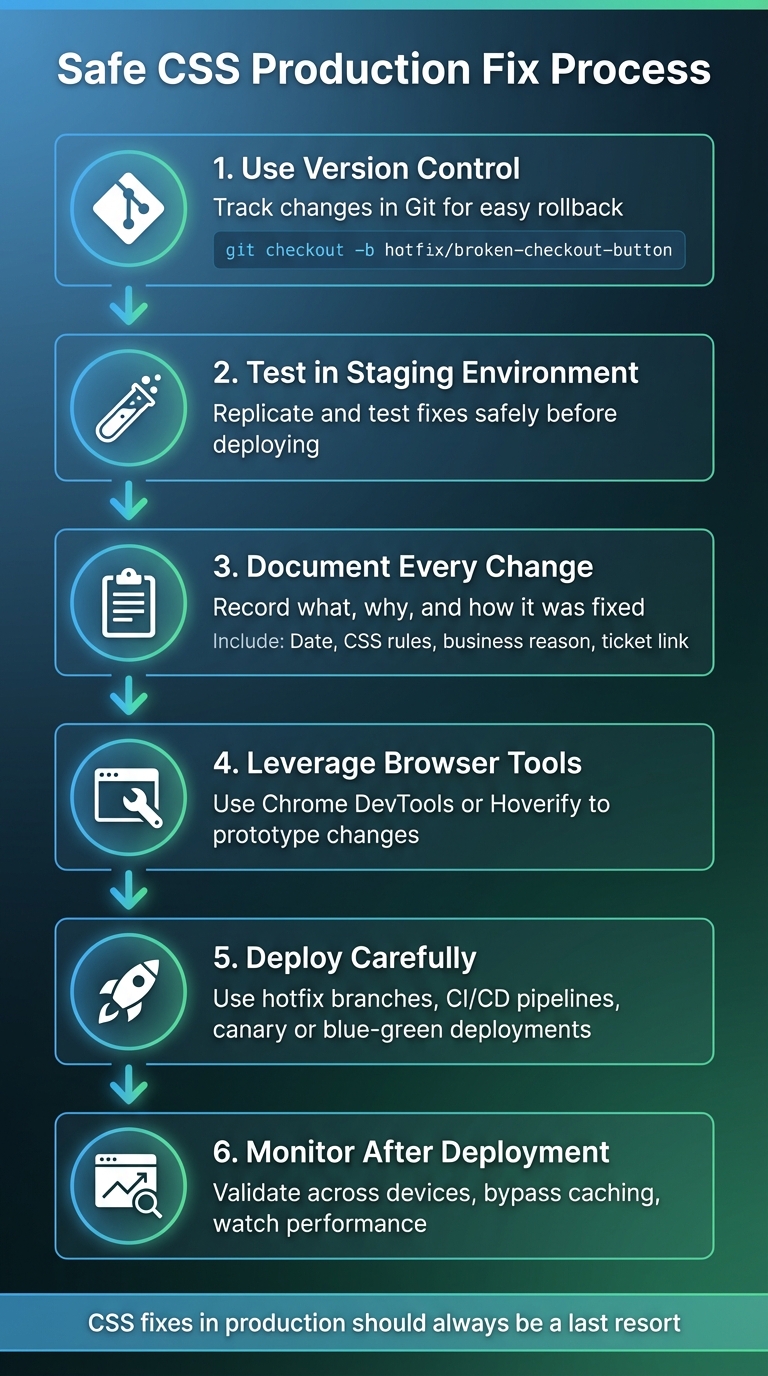
When CSS issues arise on a live site - like a misaligned button or unreadable text - it’s tempting to fix them right away. But rushing can lead to bigger problems, like broken layouts or slower page loads. This guide walks you through how to fix CSS in production without causing further issues. Here’s the key process:
- Use version control: Always track changes in Git so you can roll back if needed.
- Test in a staging environment: Replicate the issue and test fixes safely before deploying.
- Document every change: Record what was updated, why, and how it was fixed.
- Leverage browser tools: Use Chrome DevTools or tools like Hoverify to prototype changes quickly.
- Deploy carefully: Use hotfix branches, automated pipelines, and safe deployment methods like canary or blue-green deployments.
- Monitor after deployment: Validate changes across devices, bypass caching, and watch for performance issues.
Fixing CSS in production should always be a last resort. Follow these steps to make changes safely and efficiently while minimizing risks.
Preparing for Safe CSS Changes in Production
Making safe CSS updates in a live environment requires careful preparation. A well-planned approach can save you a lot of trouble if something goes wrong.
Version Control and Rollback Options
Tracking your CSS changes with Git is non-negotiable. Every CSS file should have a clear version history, making it easy to revert to an earlier state. For hotfixes, create a dedicated branch, for example: git checkout -b hotfix/broken-checkout-button. After making your updates, commit them with a clear message like git commit -m "Fix checkout button alignment on mobile devices". This ensures you have a snapshot to fall back on if needed.
Automated CI/CD pipelines are your best friend for deploying and rolling back changes. Tools like GitHub Actions can streamline testing and deployment, keeping a record of every successful build. If a hotfix causes issues, you can quickly redeploy the last stable version. Additionally, configuring tools like lint-staged to check your CSS files before committing can catch syntax errors or formatting problems before they reach production.
Understanding the Production Environment
Before diving into fixes, take time to understand your production environment. Identify where your CSS bundles are stored and confirm source maps are available. Source maps are invaluable - they let you trace minified production code back to the original files, making it easier to pinpoint and modify specific styles.
If your team has a staging environment that mirrors production, use it to replicate the issue first. This allows you to test fixes in a controlled setting without impacting real users.
Also, examine how your CSS is structured and delivered. Are styles split across multiple files? Are critical styles inlined within the HTML? Knowing these details ensures you don’t accidentally modify the wrong file or miss dependencies that could disrupt your fix. Once you understand the setup, document every change to ensure transparency and accountability.
Documenting Changes for Accountability
Keep a detailed record of every CSS hotfix. Comments in the code should be brief and only used where the logic isn’t immediately clear. However, every hotfix should have a separate log entry that outlines what was changed, why it was necessary, and the plan for a permanent solution.
Maintain a simple log that includes the date (use MM/DD/YYYY for U.S. formatting), the specific CSS rules updated, the business reason for the change, and a link to the related ticket or issue. This reduces confusion for anyone inheriting the codebase and provides valuable context if a similar issue arises later.
Finally, remember to strip out comments during the minification process to keep your production CSS lightweight. After deployment, use browser tools to verify your changes and catch any lingering issues early.
Testing CSS Changes in the Browser
Experimenting with CSS changes directly in your browser is a quick way to prototype without affecting live users.
Using Chrome DevTools for Quick Prototypes
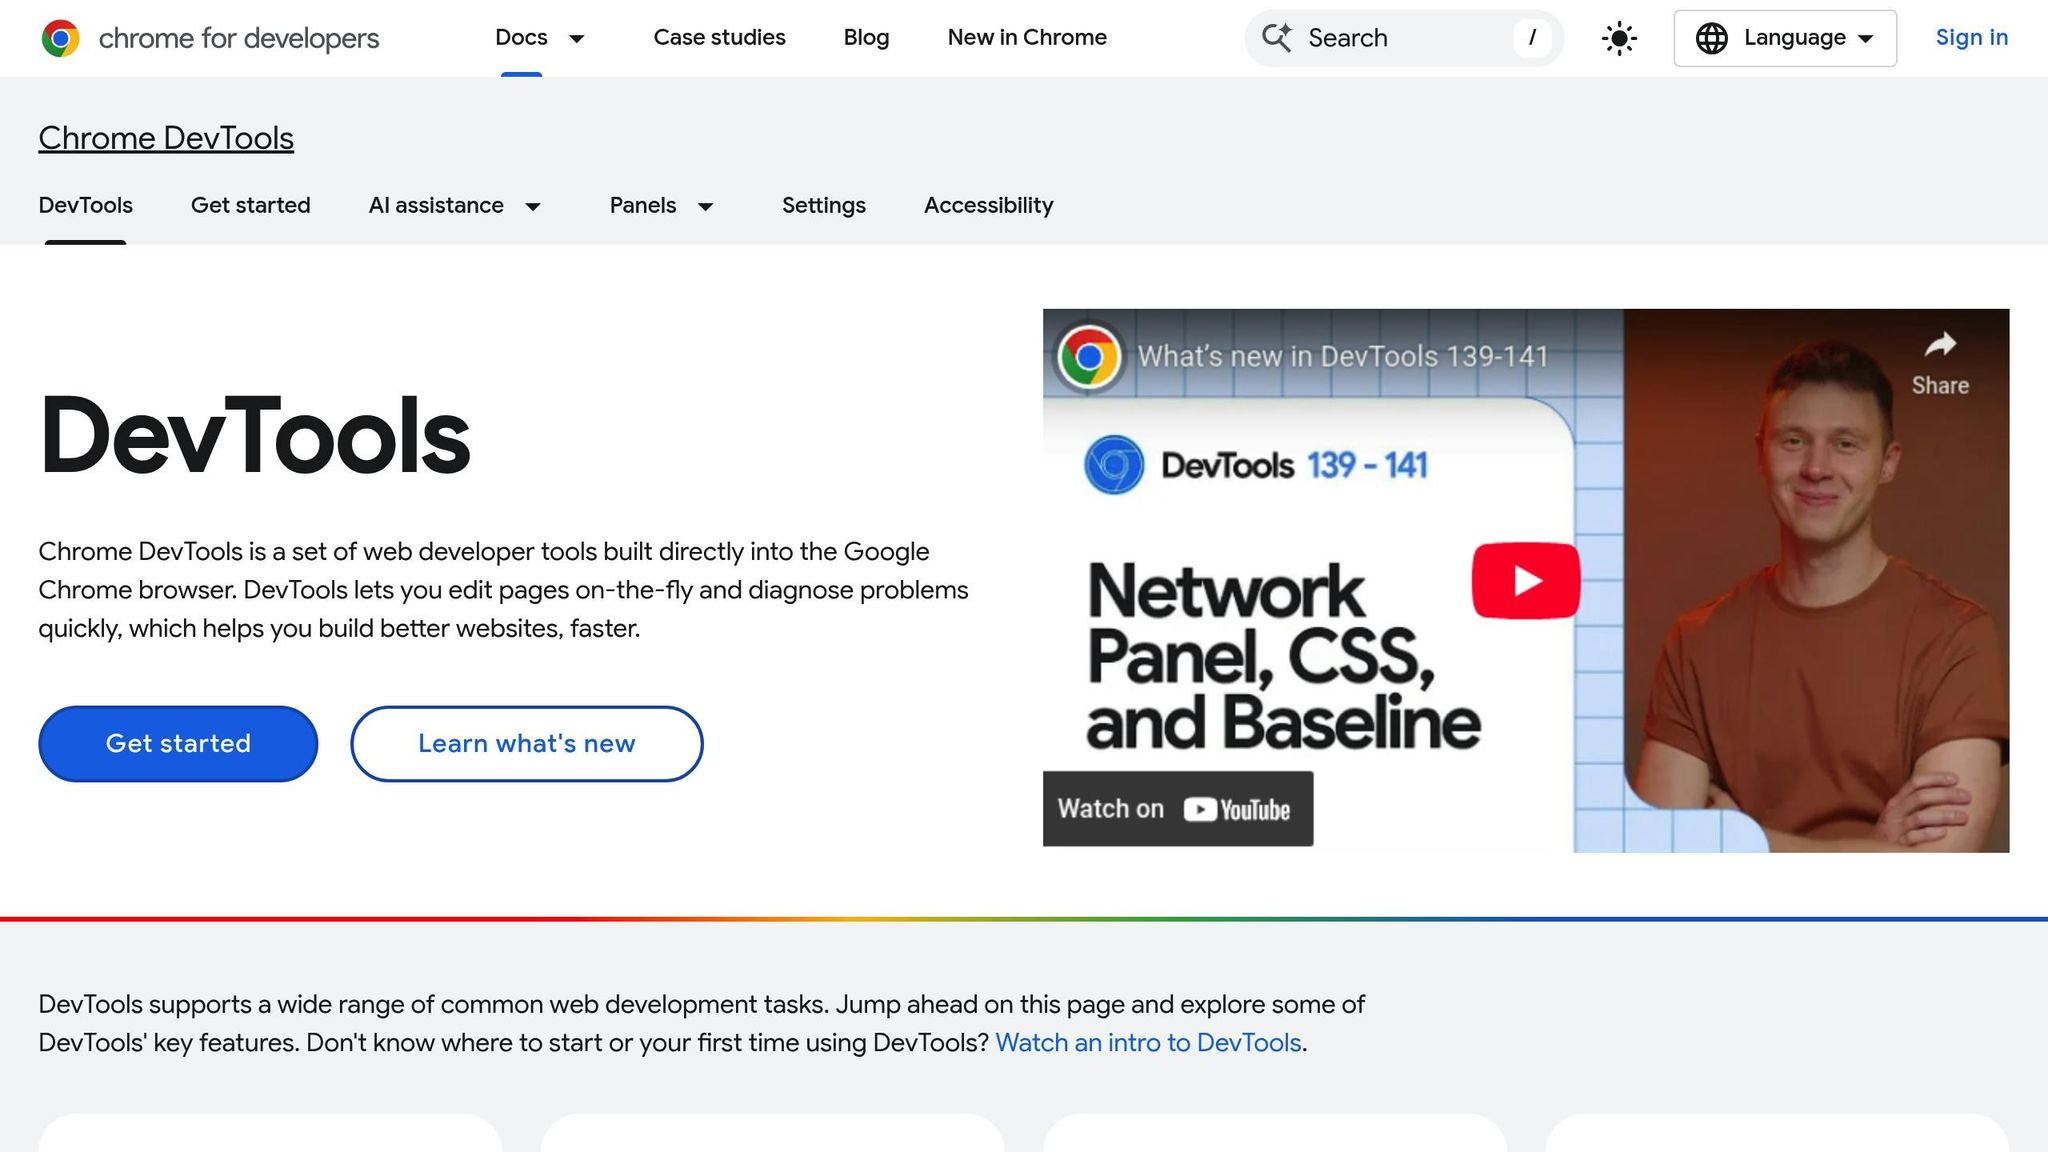
Chrome DevTools is a powerful tool for testing and tweaking CSS on the fly. To get started, right-click any element on a webpage and select “Inspect”, or use the arrow icon in the Elements panel to highlight a specific component. Once selected, the Styles tab will show all the CSS rules applied to that element.
You can double-click any property or value to edit it and see the results immediately. Want to add new styles? Click in the element.style section to insert inline CSS, which takes priority over existing rules. You can also toggle declarations on or off or manage CSS classes by adding or removing them.
For pseudo-states like :hover or :focus, use the “:hov” button to activate them without manually triggering the state. The Box Model diagram is another handy feature - it allows you to adjust dimensions like width, height, padding, margin, and borders by either double-clicking the values or dragging them. To test how your changes look on different devices, enable Device Emulation mode (the mobile preview button) to view your design across various screen sizes and orientations.
Keep in mind, these edits are temporary and will vanish once you refresh the page. When you’re happy with your changes, use the “Changes” panel to copy the updated CSS and apply it to your source code. For a more user-friendly debugging experience, check out Hoverify, which we’ll discuss next.
Speeding Up Debugging with Hoverify
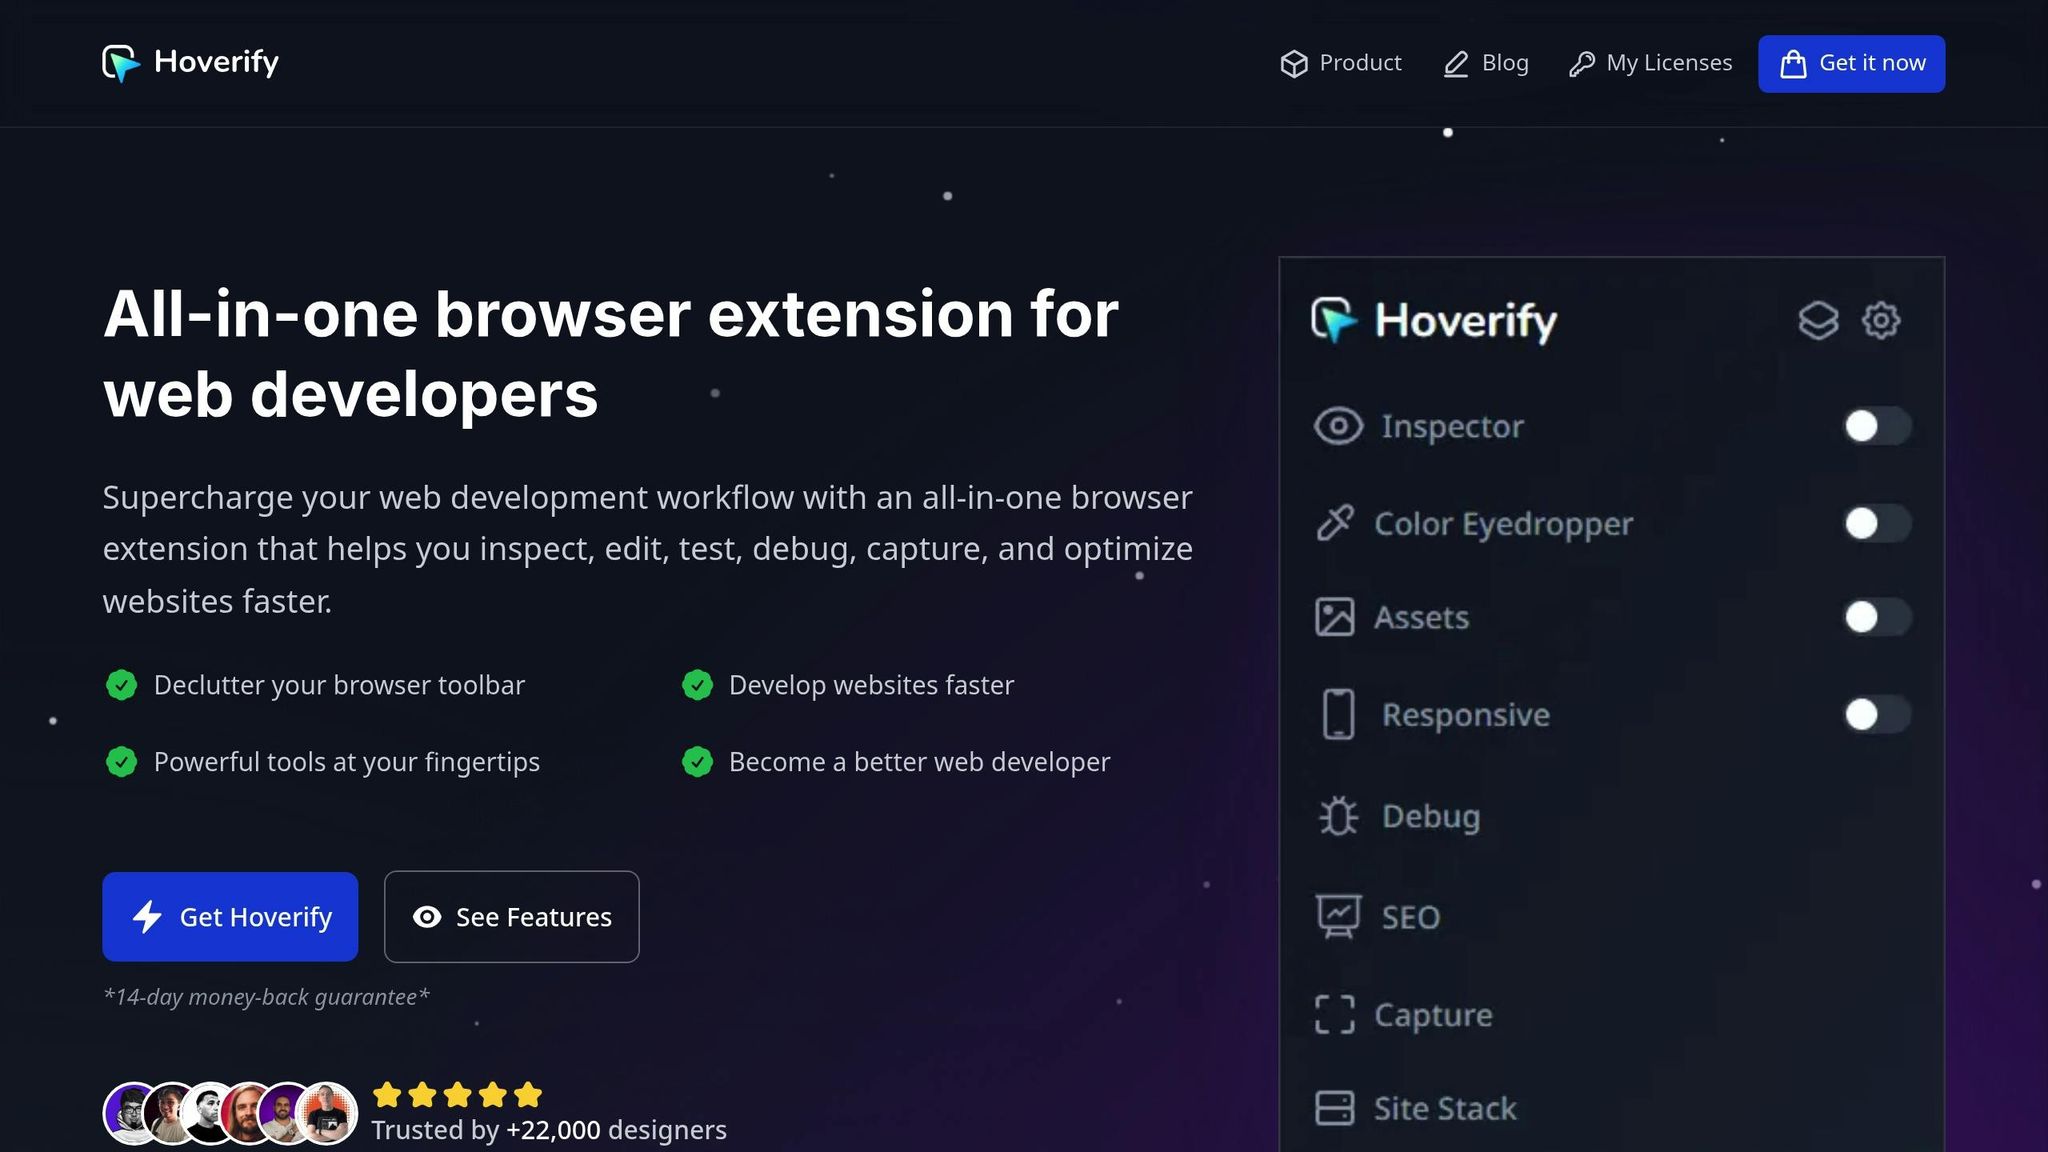
Hoverify provides a more visual and intuitive way to inspect and edit CSS. Unlike DevTools, it lets you work directly on the page without digging into panels. Just hover over an element, and Hoverify instantly displays its HTML structure and styles. Clicking on an element opens a visual editor with syntax highlighting, making it easy to tweak styles.
Hoverify also supports advanced features like inspecting pseudo-elements, editing pseudo-classes, and modifying media queries. It even allows you to test animations in real time. The visual editor is straightforward - adjust styles directly, then copy or export entire components (including child elements) to platforms like CodePen for further refinement.
Additional tools like the Color Palette and Font Viewer provide quick access to visual details, while the Responsive Viewer lets you preview CSS changes across multiple devices simultaneously, with synchronized interactions for easier testing.
Deploying CSS Fixes Safely
After testing your CSS changes in the browser and confirming they work flawlessly, the next step is integrating them into your source files. This process demands careful attention to detail to ensure you don’t introduce new bugs or disrupt existing functionality.
From Prototype to Production Code
Start by copying your tested CSS into the source files. Before committing, run Autoprefixer to automatically add necessary vendor prefixes, ensuring compatibility across different browsers. Use PostCSS Preset Env to transform modern CSS syntax into formats that older browsers can handle, identifying and applying the required polyfills for your target audience.
Before deployment, use a CSS linter to catch any syntax errors or inconsistencies. Simplify your selectors and aim for low specificity to prevent conflicts with existing styles. Once everything checks out, commit your changes to version control with a clear and concise message. Finally, deploy your updates using a well-structured hotfix strategy to minimize risks.
Deployment Methods for CSS Hotfixes
Having a clear hotfix strategy in place is essential for handling emergencies. This strategy should outline team member responsibilities, define a dedicated testing environment, specify deployment methods, and include a post-mortem process for analyzing what went wrong.
To implement a CSS hotfix, create a hotfix branch from your main production branch - this keeps your fix isolated from ongoing development. Deploy the fix to a staging environment for smoke testing. Once verified, roll it out to production, minimizing downtime and enabling quick rollbacks if necessary.
For a safer rollout, consider canary deployments, where the fix is released to a small percentage of users (e.g., 5-10% of traffic) to monitor their experience before scaling it to everyone. Alternatively, blue-green deployments offer another layer of safety by maintaining two identical production environments. You can deploy and test your CSS fix in the idle environment and, once validated, switch user traffic to it. Both methods allow for quick rollbacks and reduced risk if issues arise.
Rollback Techniques for Emergency Situations
Rollbacks are your safety net when unexpected issues surface. They help minimize downtime and allow for targeted fixes. Automation plays a key role here - integrate rollback scripts into your CI/CD pipeline to speed up recovery and reduce human error.
If a CSS fix causes problems, use Git to revert to the last stable commit. Tagging deployments with version numbers makes it easier to restore a specific version quickly. Additionally, maintain detailed logs to help identify and resolve issues faster. Your rollback procedures should be straightforward and well-documented, with clear step-by-step instructions, assigned team roles, and a communication plan for efficient execution.
Feature flags can be a lifesaver for disabling problematic CSS changes instantly without requiring a full redeploy. This is especially useful for critical UI elements where downtime can have a significant impact. After a rollback, conduct thorough testing to ensure everything has been restored correctly. Follow this with a post-rollback analysis to identify what went wrong and refine your deployment process to prevent similar issues in the future.
Validating and Monitoring Live CSS Changes
After deploying your CSS changes, it’s crucial to validate them to ensure everything works as expected across different environments. This involves confirming that the updates render correctly on various browsers and devices. Keep in mind that caching can sometimes delay updates, as browsers, servers, and CDNs may serve older versions of your files.
Post-Deployment Validation Steps
To bypass caching issues, perform a hard refresh. On Windows, use Ctrl+F5 or Shift+Refresh, and on Mac, use Cmd+Shift+R. You can also navigate directly to the CSS file’s URL and refresh it there to confirm the updated version loads.
Once the updated file is loaded, open your browser’s Developer Tools (press F12) and check the Network tab. This lets you verify that the correct, updated CSS file is being served instead of a cached version. Next, inspect key pages using Developer Tools to ensure that the correct CSS rules are applied. Pay attention to potential override issues caused by high specificity or the use of !important.
For testing across multiple devices, tools like Hoverify’s Responsive Viewer can be a game-changer. It allows you to interact with one device and see the changes mirrored across various screen sizes, making it easier to ensure your fixes work seamlessly across different viewports.
To catch visual regressions, automated tools like Percy can be invaluable. For example, in October 2021, GoogleChrome’s web.dev project integrated Percy into its GitHub Actions workflow. Percy automatically runs tests on key pages whenever a Pull Request is created, updated, or merged into the master branch. If it detects visual changes, it halts the build, requiring a developer to manually review and approve the updates by comparing new screenshots against pre-approved “golden” snapshots.
After completing these steps, shift focus to monitoring performance and planning for long-term improvements.
Monitoring and Feedback
Once validation is complete, it’s time to monitor your site’s performance to identify any new issues. Chrome DevTools can help here, particularly the Performance panel, which allows you to record runtime performance. Check the Summary tab for “Rendering” values - if these numbers are high, your CSS might be causing excessive layout recalculations. You can also enable the FPS meter to spot dropped frames, which often indicate performance bottlenecks.
Another helpful tool is Paint Flashing in Chrome DevTools (or “Toggle paint flashing” in Firefox). This feature visually highlights areas of the screen being repainted. If unexpected areas flash after your CSS changes, you may need to optimize your code. For example, animations using top and left properties can result in significant frame drops, while switching to transform properties can drastically improve performance, reducing dropped frames from 50% to just 1%.
Additionally, tools like Lighthouse or WebPageTest can provide detailed insights into how your CSS impacts overall site performance, helping you pinpoint areas for further optimization.
Planning for Permanent Fixes
Once you’ve confirmed that performance is stable, focus on implementing a permanent solution. Replace any temporary hotfixes with a more robust fix and document the lessons learned during the process. Conduct a post-mortem analysis to identify what went wrong and how it can be prevented in the future. Treat every hotfix as an opportunity to refine your deployment workflow and reduce the need for emergency fixes moving forward.
Conclusion
Making changes to CSS in a live environment demands a thoughtful and structured approach. Prioritize version control, maintain clear documentation, and stay mindful of your deployment environment. These steps lay the groundwork for effective testing and seamless updates.
When emergencies arise, start by addressing issues directly in the browser. But remember, stability comes from disciplined deployment. Transition from quick fixes to production-ready solutions carefully, using proper deployment workflows and keeping rollback options available. This turns reactive fixes into well-managed processes.
After implementing changes, perform hard refreshes, use Developer Tools to inspect updates, and monitor site performance to ensure everything displays as intended. Tools like Hoverify can simplify debugging and responsive testing. Consistent validation and ongoing monitoring help ensure your fixes are both effective and lasting.
Always treat emergency fixes as temporary solutions. Follow up with permanent corrections and use post-deployment reviews to refine your process. The ultimate goal isn’t just fast fixes - it’s creating a system where emergencies are rare and your CSS remains stable and reliable.
FAQs
What are the potential risks of making CSS changes directly in a live production environment?
Making CSS changes directly in a live production environment can create a host of problems. For starters, unintended style conflicts can pop up, leading to elements displaying incorrectly or inconsistently. This might happen due to naming collisions, unexpected DOM matches, or overly complicated selectors that behave unpredictably.
Another concern is performance issues. Certain CSS selectors - like attribute selectors or pseudo-classes - can slow down rendering, particularly on larger pages. And let’s not forget the potential for security risks. Without proper testing, changes could open the door to vulnerabilities like cross-site scripting (XSS), putting user data and safety at risk.
To keep things running smoothly, always test changes thoroughly, use version control to track updates, and have a solid rollback plan ready for any emergencies.
What steps can I take to ensure CSS updates don’t harm my website’s performance?
When updating your website’s CSS, it’s crucial to maintain its performance. Start by eliminating unused styles and breaking your code into smaller, modular files for better organization. Compressing and minifying your CSS files can significantly reduce load times, while using efficient, straightforward selectors helps avoid rendering delays.
Make it a habit to test your site’s performance after every update. If you notice any slowdowns, address them immediately to ensure a seamless user experience. These practices keep your website fast and stable, even with frequent tweaks.
What are the best tools for safely testing CSS changes before going live?
To make sure your CSS changes are reliable before they go live, you can rely on a mix of tools designed for different testing purposes. For visual regression testing, tools like BackstopJS or Percy are excellent for spotting unexpected design changes. If you’re looking to maintain clean and error-free code, style checking tools like CSS Lint and Stylelint are invaluable for catching syntax mistakes. Meanwhile, unit testing frameworks such as Quixote can help verify that your CSS behaves as intended, and cross-browser testing platforms like BrowserStack ensure your site looks and works consistently across various browsers.
Using these tools together allows you to implement CSS updates with confidence, reducing the risk of disrupting your website’s design or user experience.
