Most websites that support dark mode can automatically switch to it if you’re using it. However, many sites either lack automatic dark mode or don’t offer a dark mode option at all.
Instead of waiting for millions of websites to implement dark mode, we can add it manually with a simple CSS trick. I’ll use Hoverify to inject persistent styles into the page, but you can use any other extension of your choice to achieve the same result. Several extensions can add a dark mode, but this approach will give us much more control, allowing you to customize the code according to your needs.
This solution might not be as polished as waiting for sites to add their own sleek dark themes, but it will help reduce eye strain and improve your focus.
We will use Hoverify’s “Custom Code” feature to inject our custom CSS into the page. This script will be persistent and automatically inject itself the next time the page loads.
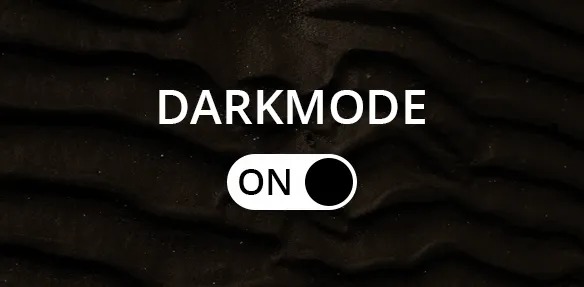
How to Force Dark Mode on All Websites?
Step 1: Create a New Script
- Open the Hoverify popup and click on the “Debug” tool.
- A new page will open with several tools. Select “Custom Code.”
- Click on the “New” option, which will open a new popup.
Step 2: Select a Host
- Hosts are the URLs or hostnames where you want to inject the script.
- For this tutorial, add ”*” as the host to match all URLs and inject your script into all pages.
- If you want to target specific pages or sites, you can add those URLs instead. Click on “Create,” which will open a new window.
Step 3: Add the Code
- Add the following snippet to the editor:
<style>
    body {
        filter: invert(1) hue-rotate(180deg);
    }
</style>
- Custom Code lets you inject HTML code, so wrap your CSS in a
<style>tag. - If the tab opened in the main window matches the provided host, you will see a real-time preview of your script in that tab.
Step 4: Save the script
- Save the script by pressing CTRL + S or clicking “Save” on the top right.
- Since we are saving for the first time, give the script a name (e.g., “Dark mode”).
- Finally, click “Save” to save the script and close the editor.
Step 5: Test the Script
- Navigate to any webpage to verify that your script is working as expected.
- If you used ”*” as the host, the script should be injected into every page you visit.
- Check for the changes or effects your script is supposed to implement.
Step 6: Edit or Update the Script
- If you need to make changes, reopen the “Custom Code”.
- Locate your script. You can filter scripts using hosts.
- Click on the edit icon to open your script.
- Make the necessary changes and save again by pressing CTRL + S or clicking “Save.”
By following these steps, you will get a simple dark mode working for the provided hosts. You can improve and customize your script to get better results.
You can efficiently create, manage, and test custom scripts using Hoverify. Custom Code allows for real-time modifications and previews, making it an essential asset in your workflow. Whether injecting CSS to alter the appearance of websites or adding complex HTML and JavaScript, Hoverify streamlines the process, enhancing your productivity and control over web content.
