
In 2025, Chrome screenshot extensions have evolved into powerful tools for professionals and casual users alike. These extensions go beyond simple screenshots, offering features like full-page captures, annotations, integrations with apps like Slack and Jira, and even screen recording. Whether you’re a developer, designer, or just need quick snapshots, there’s an option for you. Here’s a quick list of the top Chrome screenshot extensions:
- Hoverify: Ideal for developers with advanced tools like element inspection and responsive testing.
- Awesome Screenshot: Combines screenshots and video recording, with integrations for project management tools.
- GoFullPage: Best for full-page captures with simple editing options.
- FireShot: Offers lifetime access with robust editing and export features.
- Lightshot: A free, straightforward option for basic screenshot needs.
- Marker.io: Perfect for teams, turning screenshots into tasks for project management tools.
- Scribe: Automates documentation by creating step-by-step guides with screenshots.
- CocoShot: A free, no-frills tool for basic screenshots.
- Screenshot Tool: Simple, offline, and free with essential editing features.
- Chrome Capture: Adds screen recording and GIF creation to its screenshot capabilities.
These tools cater to a wide range of needs, from basic snapshots to professional workflows. Below is a quick comparison of their features and pricing.
Quick Comparison
| Extension | Key Features | Free Option | Paid Option | Best For |
|---|---|---|---|---|
| Hoverify | Full-page, element capture, annotations | No | $30/year & $89 LTD | Developers, designers |
| Awesome Screenshot | Screenshots, video recording, integrations | Yes | From $6/month | Collaboration, project management |
| GoFullPage | Full-page capture, basic editing | Yes | $12/year | Full-page screenshots |
| FireShot | Lifetime license, advanced editing | Yes | $39.95 one-time | Professionals, PDF exports |
| Lightshot | Simple area selection, free editing tools | Yes | No | Basic screenshot needs |
| Marker.io | Team collaboration, task creation | Yes (Trial) | From $39/month | Teams, issue tracking |
| Scribe | Automated guides with screenshots | Yes | From $12/month | Documentation, workflows |
| CocoShot | Basic screenshot tools, free forever | Yes | No | Simple, no-cost option |
| Screenshot Tool | Offline, basic editing, no account needed | Yes | No | Quick, offline screenshots |
| Chrome Capture | Screenshots, GIFs, video recording | Yes | $12 one-time | Dynamic content creation |
Choose based on your needs - basic tools for free or paid options for advanced features like team collaboration, automation, or professional editing.
How to Choose a Chrome Screenshot Extension
Picking the right Chrome screenshot extension comes down to understanding your workflow and security needs. Whether you go for a free or paid option often depends on how complex your projects are and how much collaboration your team requires. These factors can help narrow down the best tool for your professional needs.
Start by considering what kind of screenshots you need. Capture modes are a key feature of any screenshot tool. If you just need quick documentation, a basic visible area capture might do the trick. But for web developers, full-page screenshots are often essential for showcasing entire landing pages or spotting layout issues across different screen heights. If you’re working on design systems, element-specific capture can be a lifesaver. And for responsive design projects, tools that allow custom viewport sizing or device simulation are incredibly useful for testing how layouts adjust to different screen sizes.
Next, look at the editing tools. Some extensions come with just the basics - like arrows, text boxes, and highlights - which might be enough for simple workflows. But for more advanced tasks, you’ll want features like blur effects to hide sensitive information. The better the built-in editor, the less likely you’ll need extra software.
Think about export formats and quality too. Most web-related screenshots are saved as PNG files because they offer lossless compression. However, JPEG is a better choice for large full-page captures since it keeps file sizes smaller. If you’re creating reports or documentation, PDF export can be a big plus. And some tools now support WebP format, which provides excellent compression without sacrificing quality - perfect for teams managing large libraries of screenshots.
Privacy and security are non-negotiable, especially if you’re working with sensitive client data or proprietary designs. Before installing any extension, check out the developer’s credentials - look for a professional profile or website. Read user reviews to identify any privacy concerns and make sure the extension is regularly updated with security patches. Extensions that haven’t been updated in over a year are best avoided.
Pay close attention to the permissions an extension requests. If it asks to “read and change all your data on the websites you visit”, that’s a red flag - it could pose a risk of data leaks if compromised. Stick to extensions with minimal permissions that still meet your needs. The right tool should enhance productivity without compromising security.
Workflow integration is another factor to consider. For web developers, tools that sync with project management platforms like Jira or GitHub can automatically attach screenshots to bug reports or feature requests, saving time. Designers might prioritize integrations with Slack or Microsoft Teams for quick feedback loops. And if you need to keep your screenshots organized or share them across projects, look for extensions that connect with cloud storage platforms.
Finally, evaluate the extension based on your organization’s security policies. Avoid tools with poor reviews or no reviews at all - these often signal bad functionality or security risks. Chrome’s built-in Safety Check, secure connections, and password warnings can add another layer of protection when using third-party extensions.
For individual users or small teams, free extensions often cover the basics. But if you’re in a professional setting handling sensitive information, paid versions are worth considering. They typically offer advanced features like enhanced privacy controls, cloud storage, priority support, and better integration with enterprise tools. Plus, they’re more likely to receive frequent security updates, which is crucial for safeguarding your data.
1. Hoverify
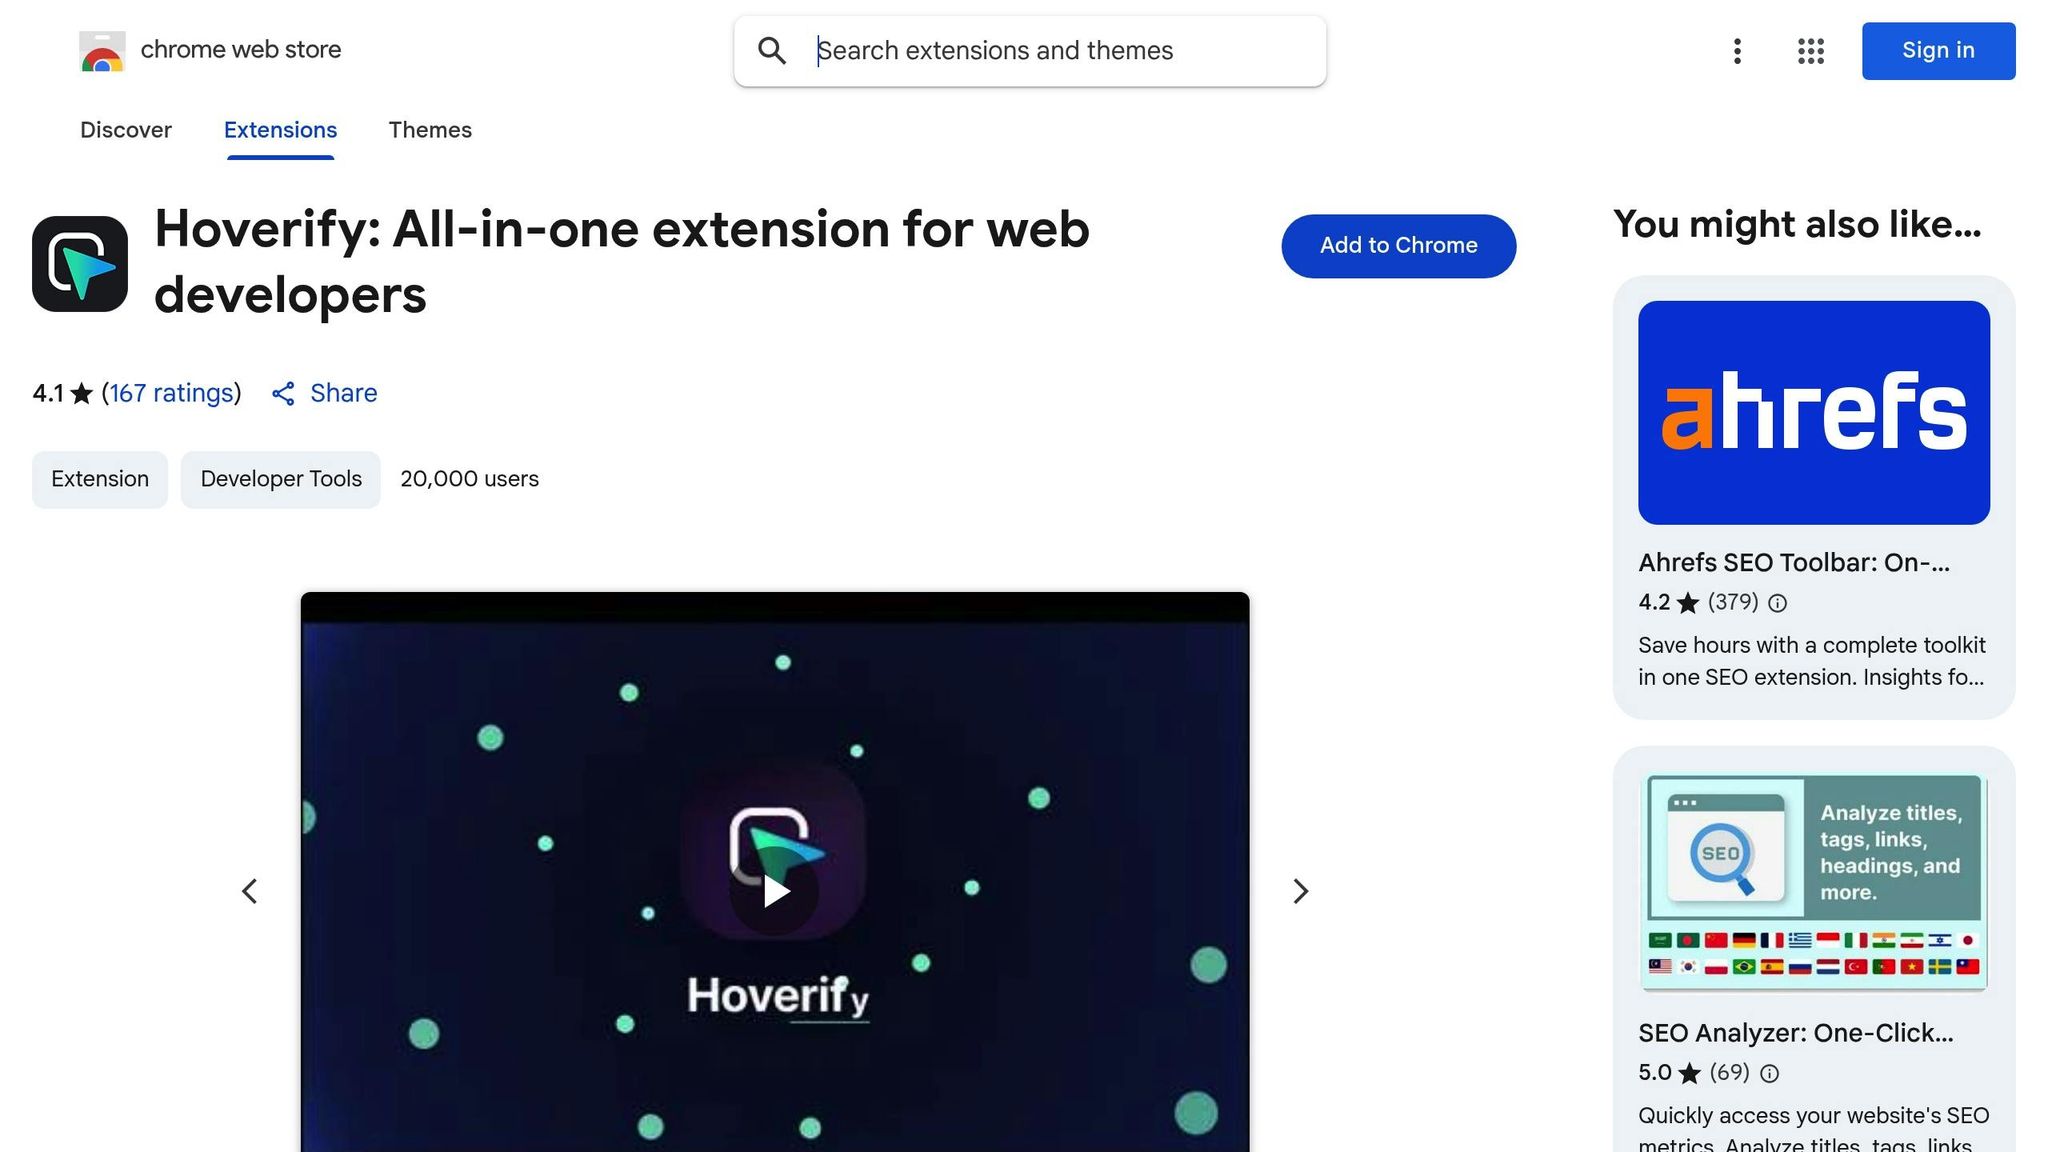
Hoverify is a powerful Chrome extension designed for web developers, designers, and anyone in need of professional tools for capturing and analyzing web content. Created by Himanshu Mishra, it combines screenshot capture with inspection and debugging tools, offering a comprehensive solution for streamlining web development workflows.
What sets Hoverify apart is how it integrates screenshot functionality with other essential tools like element inspection and style editing - all within a single extension. This integration not only saves time but also reduces browser clutter, making it an efficient choice for professionals.
Capture Modes
Hoverify provides four distinct capture modes to suit different needs:
- Visible part: Captures only what’s currently visible in your browser viewport. This is perfect for quick documentation or sharing specific sections with your team.
- Full page: Captures the entire webpage, including content outside the viewport. This is ideal for showcasing complete designs, documenting user flows, or spotting layout issues across the full page.
- Select area: Allows you to click and drag to capture a specific rectangular region of the page. This gives you precise control over what to include in your screenshot.
- Select element: Lets you capture individual page elements with a single click. This is especially helpful for documenting design systems or reporting bugs with detailed visuals.
Editing and Annotation Tools
Hoverify’s built-in screenshot editor takes your captured images a step further. It offers tools like arrows, highlights, and text labels, enabling you to annotate screenshots directly. Whether you’re emphasizing key areas or adding context with notes, these features make your documentation more actionable. Combined with Hoverify’s inspection tools, this turns debugging into an interactive and efficient process.
Export Formats
Hoverify supports multiple export formats, catering to a variety of use cases:
- PNG: Perfect for lossless quality, making it ideal for design documentation or precise bug reports.
- JPEG: Great for reducing file size, especially when sharing large screenshots via email.
- WebP: Offers high-quality compression, striking a balance between file size and clarity.
- PDF: Suitable for creating polished reports or formal documentation for clients and stakeholders.
Free vs. Paid Features and Pricing
Hoverify operates on a subscription model and a lifetime deal, requiring an annual payment or one-time payment to unlock its full range of professional features. You can learn more about Hoverify’s pricing from here.
2. Awesome Screenshot
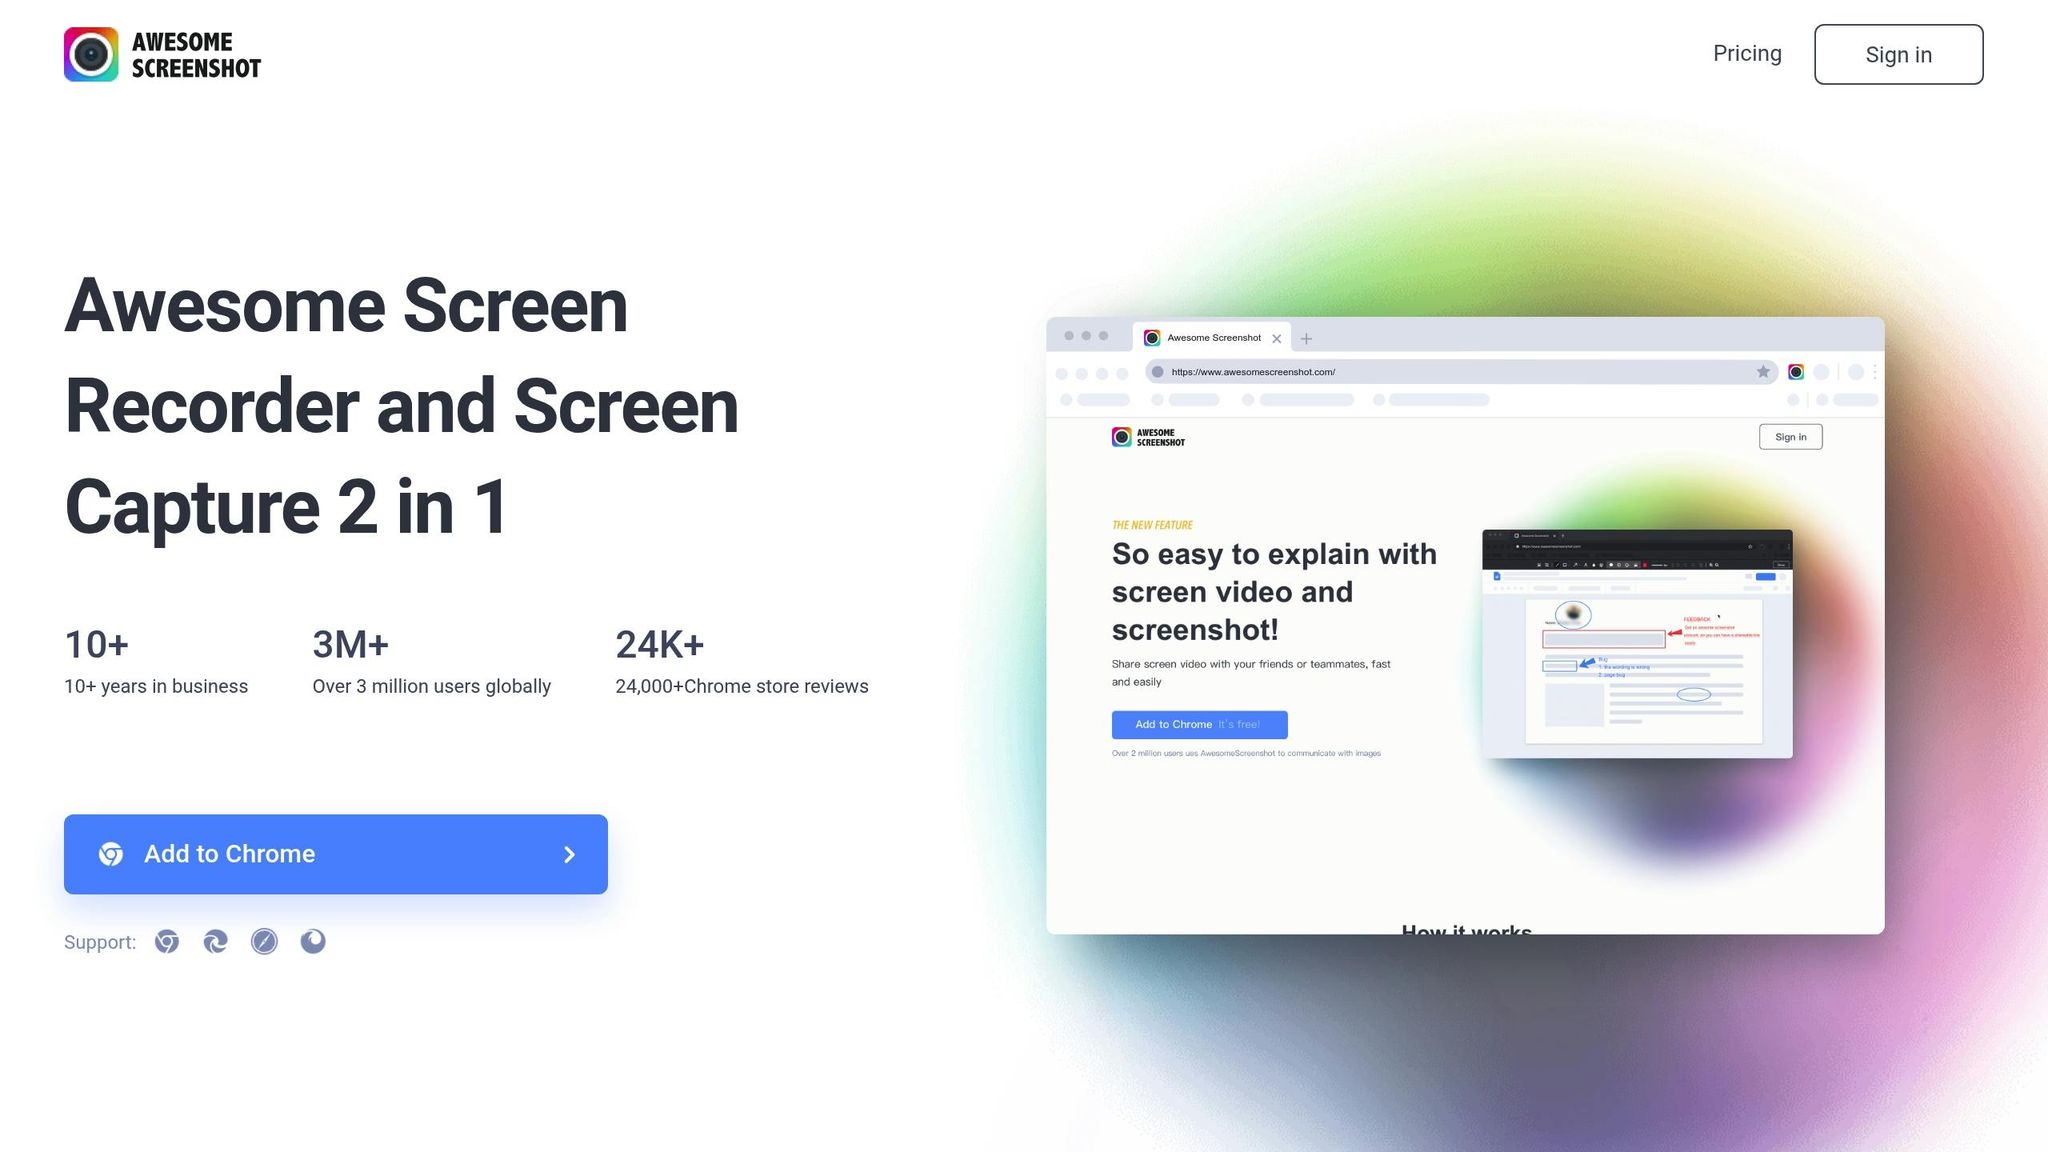
In 2025, having a reliable screenshot tool is a must, whether you’re grabbing quick snapshots or documenting something in detail. Awesome Screenshot, with its 3 million users and 4.7-star rating, delivers both simplicity and powerful features, making it a favorite for casual users and professionals alike.
Capture Modes
Awesome Screenshot offers four main ways to take screenshots: visible part, selected area, full page, and entire screen.
- Visible Part: Captures exactly what’s displayed in your browser window.
- Selected Area: Lets you drag and highlight a specific portion of the screen to capture.
- Full Page: Perfect for long documents like PDFs or Google Docs, this mode scrolls through the entire page and stitches it together. However, it may struggle with iFramed content or sticky headers.
- Entire Screen: Captures everything on your monitor, even outside your browser.
“You can capture any part of the page or the whole thing, no matter how long. I think that about covers any web page.” – Willie Kimbrough
These options ensure you can handle just about any screenshot scenario.
Editing and Annotation Tools
Once you’ve captured your screenshot, the editing tools let you take it to the next level. You can resize, crop, highlight, or annotate with text, shapes, arrows, borders, watermarks, and even blur sensitive information. For efficiency, customizable keyboard shortcuts make repetitive tasks quicker.
“This tool has a really smooth select and capture feature that allows you to quickly zoom in and out, capture, mark up and save selected areas and save your image.” – Robert Wagner
Export Formats
After editing, you can save your screenshots as PNG or JPEG files. Plus, integration with cloud storage services makes it easy to access and organize your images across devices.
Free vs. Paid Features and Pricing
Awesome Screenshot works on a freemium model, offering a free plan alongside two paid options. Here’s a breakdown:
| Plan | Price | Screenshots | Video Recordings | Video Resolution | Annotation Tools |
|---|---|---|---|---|---|
| Free | $0 | Up to 100 | Up to 20 (6 hours each) | 720p | Basic |
| Basic | $6/month | Unlimited | Up to 20 (6 hours each) | 720p | All tools |
| Professional | $6/month | Unlimited | Unlimited (6 hours each) | Up to 4K | All tools |
The free plan is great for light use, but if you need more, both paid tiers unlock unlimited screenshots and advanced annotation tools. The key difference? The Professional plan supports unlimited video recordings in up to 4K resolution, while the Basic plan caps recordings at 20 per month at 720p.
3. GoFullPage
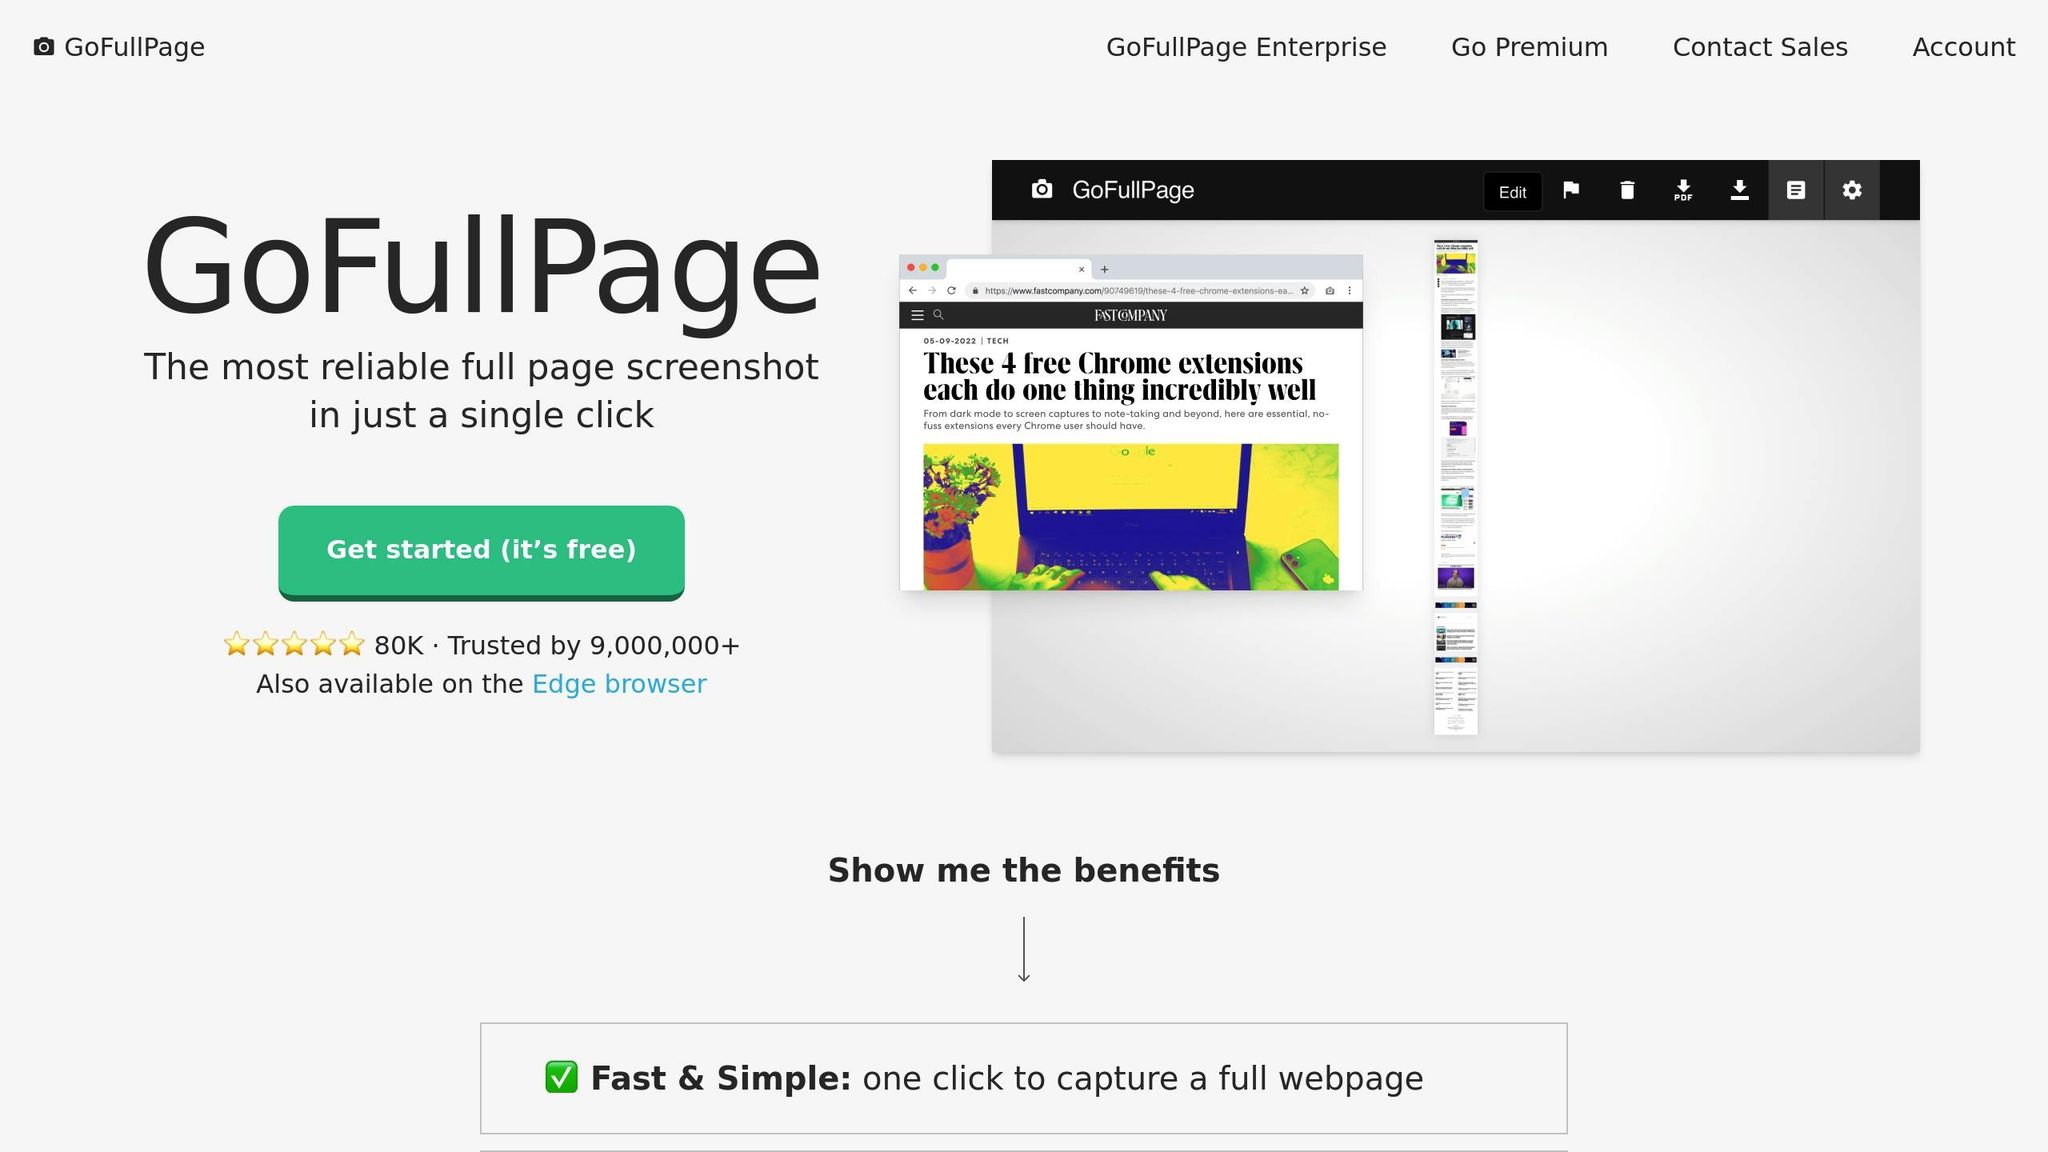
If you’re looking to capture an entire webpage from top to bottom, GoFullPage is the tool for the job. With over 9 million users and a stellar 4.9-star rating, it’s become a favorite for full-page screenshots.
Capture Modes
GoFullPage takes the hassle out of capturing full webpages by automatically scrolling and stitching everything together for you.
“The most reliable full page screenshot in just a single click.”
- GoFullPage.com
This extension is particularly good at handling tricky layouts, like pages with inner scrollable elements or embedded iframes. While its main focus is full-page captures, the premium version adds cropping tools for those times when you need to zero in on specific areas.
Editing and Annotation Tools
With the free version, you get the basics: capture and download. But upgrading to GoFullPage Premium (just $1 per month or $12 annually, with a 7-day free trial) unlocks a suite of editing tools. These include shapes, emojis, annotations, blur effects, cropping, and even smart PDF splitting. Premium features also let you add text, highlights, URLs, and date/timestamps to your screenshots.
“Edit: Go Premium! Add shapes, emojis, annotations, and more!”
- GoFullPage
Export Formats
GoFullPage offers flexibility for saving and sharing your work. The free version supports unlimited downloads in both image and PDF formats, making it easy to choose the right format for quick sharing or formal documentation. However, you’ll need a premium subscription to access advanced editing features before downloading your captures.
Free vs. Paid Features and Pricing
GoFullPage uses a freemium model, clearly separating its basic features from the premium perks. Here’s a quick breakdown:
| Feature | Free | Premium |
|---|---|---|
| Unlimited screenshots | ✓ | ✓ |
| Advanced scroll capture | ✓ | ✓ |
| Image cropping | ✗ | ✓ |
| URL and date/timestamp | ✗ | ✓ |
| Smart PDF page splitting | ✗ | ✓ |
| Annotations: blur, text, highlight | ✗ | ✓ |
| Priority customer support | ✗ | ✓ |
With GoFullPage Premium, you also get priority customer support and access to all advanced features, backed by a free 7-day trial.
4. FireShot
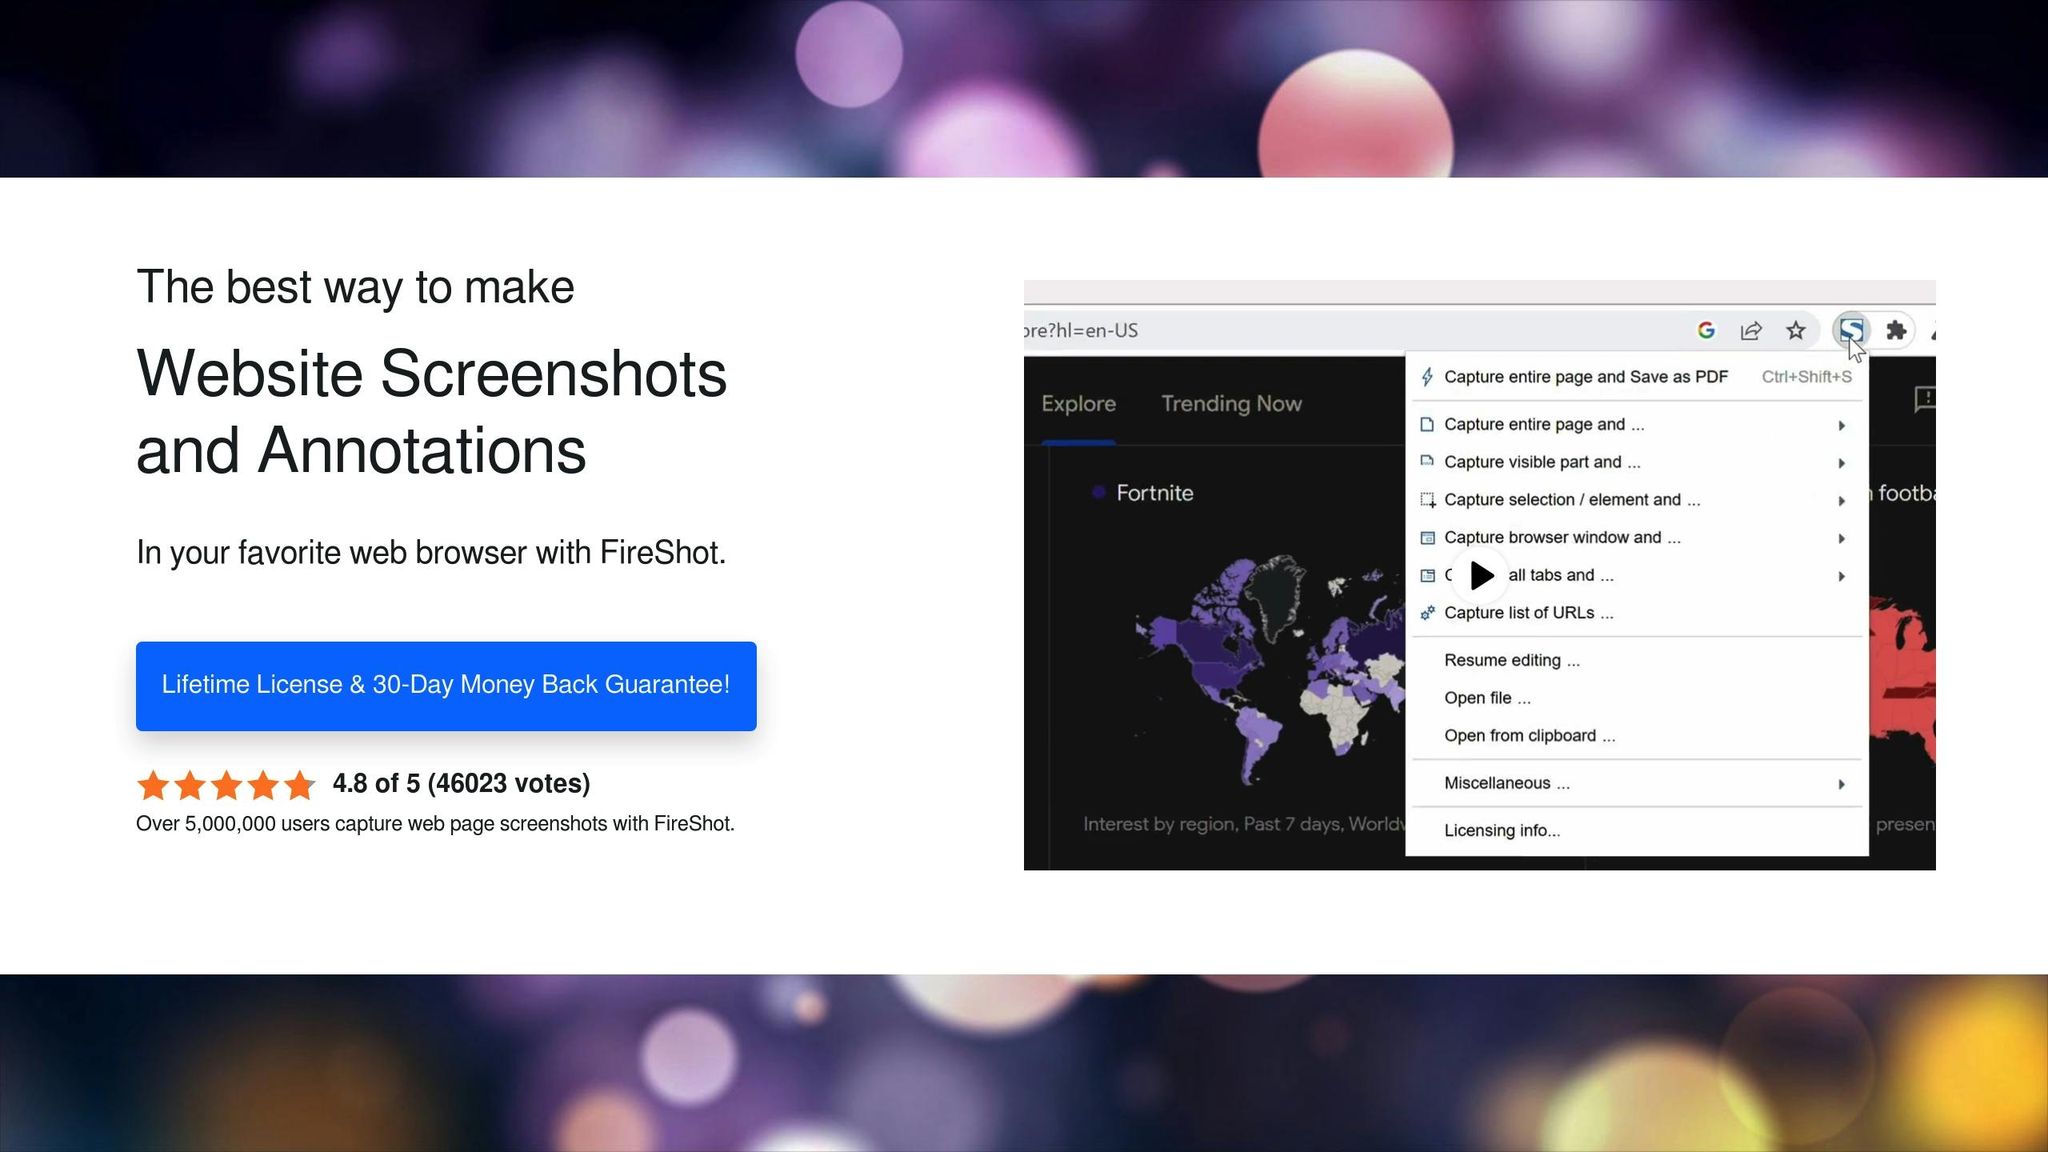
FireShot is a Chrome extension designed to make screenshot capturing and editing seamless, with the added bonus of a lifetime license - no recurring subscription costs.
Capture Modes
FireShot covers the essentials with options to capture the visible area of a webpage or the entire page from top to bottom. For those who require more precision, upgrading to FireShot Pro unlocks element-specific captures, which are particularly handy for developers and designers who need to focus on specific parts of a webpage.
Editing and Annotation Tools
Once you’ve taken a screenshot, FireShot doesn’t stop there. The free version offers basic capture functionality, but the Pro version takes things up a notch with advanced editing and annotation tools. With FireShot Pro, you can annotate, highlight, and edit your screenshots before saving or sharing them. It also integrates with Microsoft OneNote, allowing you to organize your screenshots directly into your notebooks - perfect for documentation or research.
Export Formats
While the free version supports standard image formats, FireShot Pro expands your options by enabling PDF exports with clickable links and text. It also includes custom upload options, making it easier to store and share your screenshots in a way that fits your workflow.
Free vs. Paid Features and Pricing
FireShot offers a lifetime license for $39.95 (regularly $59.95, currently discounted by 33%). This one-time payment includes free updates for life and allows use on up to 2 PCs and 2 laptops for personal purposes.
| Feature | Free | Pro ($39.95 lifetime) |
|---|---|---|
| Basic screenshots | ✓ | ✓ |
| Full-page capture | ✓ | ✓ |
| Element-specific capture | ✗ | ✓ |
| PDF export with links/text | ✗ | ✓ |
| Advanced editing tools | ✗ | ✓ |
| OneNote integration | ✗ | ✓ |
| Custom upload options | ✗ | ✓ |
For less than $40, FireShot Pro is a worthwhile choice for professionals like developers and designers who rely on screenshots as part of their daily workflow. Its features are tailored to enhance productivity and streamline tasks, making it a practical investment.
5. Lightshot
Lightshot is a free Chrome extension designed for taking screenshots, compatible with both Windows and Mac platforms. It allows you to capture specific areas of your screen and includes simple editing tools, such as arrows, text, and highlighting. Lightshot keeps things straightforward, making it a great choice for users who need a no-frills solution for basic screenshot tasks. If you’re looking for more advanced annotation options or tools for team collaboration, check out Marker.io next.
6. Marker.io

Marker.io is a handy tool for teams looking to streamline feedback and issue tracking. It’s especially useful for web development teams, design reviews, and bug reporting. By turning screenshots into actionable tasks through integration with project management tools, it simplifies collaboration. Plus, its pricing options are tailored to suit teams of different sizes and needs.
Capture Modes
Marker.io provides three ways to capture content: selecting a specific screen area, capturing entire webpages, or including desktop elements like the URL bar and developer tools.
Free vs. Paid Features and Pricing
Marker.io offers a 15-day free trial, giving users full access to the Team plan features. This trial is capped at 25 issues and doesn’t require a credit card.
- Starter Plan: Costs $39 per month when billed annually, or $59 monthly. It includes 3 users and supports up to 5 active projects. You can add more users - up to 15 total - at $4 per user per month (annual billing) or $6 monthly.
- Team Plan: Priced at $149 per month annually or $199 monthly, this plan accommodates 15 users with 15 active projects and includes issue sync functionality. Additional users can be added, up to 50, at $6 per user per month (annual billing) or $9 monthly.
- Business Plan: Designed for larger organizations, this plan offers custom pricing with annual billing only. It includes advanced features like SSO SAML, audit logs, sensitive data masking, priority support, and custom agreements.
All plans come with core features such as a website widget, browser extension, screen capture, issue tracking, status updates, comments, internal comments, notifications, and guest accounts. Higher-tier plans add extras like custom branding, analytics, webhooks, session replay, and integrations aimed at boosting team efficiency.
7. Scribe
Scribe is an AI-driven tool designed to simplify documentation by automating screenshot capture and annotation. It takes the hassle out of creating step-by-step guides, making it an excellent choice for training materials, standard operating procedures, and workflow documentation. Unlike traditional tools that require manual effort, Scribe works in the background, capturing and annotating as you go. Here’s a closer look at its features, export options, and pricing.
Capture Modes
Scribe uses a smart capture system through its Chrome extension to document both web and desktop processes. As you perform tasks, it automatically generates annotated screenshots and instructions in real time. This eliminates the need for manual screenshot selection, providing a seamless way to create detailed guides.
Export Formats
Sharing your documentation is straightforward with Scribe’s flexible export options. You can export guides in PDF, HTML, or Markdown formats, ensuring compatibility with various platforms and workflows.
Free vs. Paid Features and Pricing
Scribe offers a tiered pricing system to cater to different needs:
- Basic (Free): Includes essential features and shareable links.
- Pro Personal ($23/month): Adds support for web, mobile, and desktop apps, along with company branding, editable annotations, and expanded export options (PDF, HTML, Markdown).
- Pro Team ($12 per user/month): Builds on Pro Personal with team collaboration tools, including commenting.
- Enterprise: Custom pricing tailored for organizations needing advanced security and multi-team management.
This flexible pricing ensures that Scribe works for everyone - from individuals managing simple documentation tasks to large teams requiring advanced collaboration and security features.
8. CocoShot
CocoShot is a no-frills Chrome extension built for users who value simplicity. It focuses on delivering basic screenshot features without any added complexity. Best of all, it’s completely free - no hidden premium tiers, subscriptions, sign-ups, or trial periods. Up next, we’ll look at a tool that takes screenshot collaboration to the next level for teams.
9. Screenshot Tool
Screenshot Tool is a no-nonsense Chrome extension designed for speed and simplicity. With a stellar 4.7-star rating from over 4,100 users in the Chrome Web Store, it proves that sometimes less really is more when it comes to functionality and ease of use.
Capture Modes
This extension offers three essential capture modes to handle most screenshot tasks:
- Full Page: Capture an entire webpage from top to bottom.
- Selected Area: Drag your cursor to grab just the section you need.
- Visible Part: Take a snapshot of the part of the screen currently in view.
These straightforward options make it easy to get exactly what you need without unnecessary features cluttering the process. Best of all, it loads quickly, doesn’t require you to create an account, and works seamlessly without redirecting you to external websites. Whether you’re reporting a bug or saving a snippet of a webpage, Screenshot Tool has you covered.
Editing and Annotation Tools
Once you’ve taken your screenshot, the extension provides a handy set of annotation tools. You can crop images, blur out sensitive information, draw attention with arrows, or add text annotations. These features make it ideal for creating clear, detailed documentation or emphasizing specific elements in your screenshots.
Compared to Windows’ built-in Snipping Tool, Screenshot Tool offers more robust annotation options, allowing you to edit efficiently without needing a full-fledged image editor.
Export Formats
When it’s time to save or share your screenshot, Screenshot Tool keeps things simple. You can export your image as a PNG file or copy it directly to your clipboard for quick use in other applications. The extension works entirely offline, so you don’t need an internet connection, and there are no limits on file size, making it a dependable choice for capturing even large, detailed screenshots.
Free vs. Paid Features and Pricing
Here’s the best part: Screenshot Tool is completely free. All capture modes, editing tools, and export options are available at no cost, and there’s no need to sign up or register. Its combination of offline functionality, fast performance, and zero cost makes it a practical option for anyone needing reliable screenshot capabilities.
Now, let’s take a look at the final contender in our lineup.
10. Chrome Capture
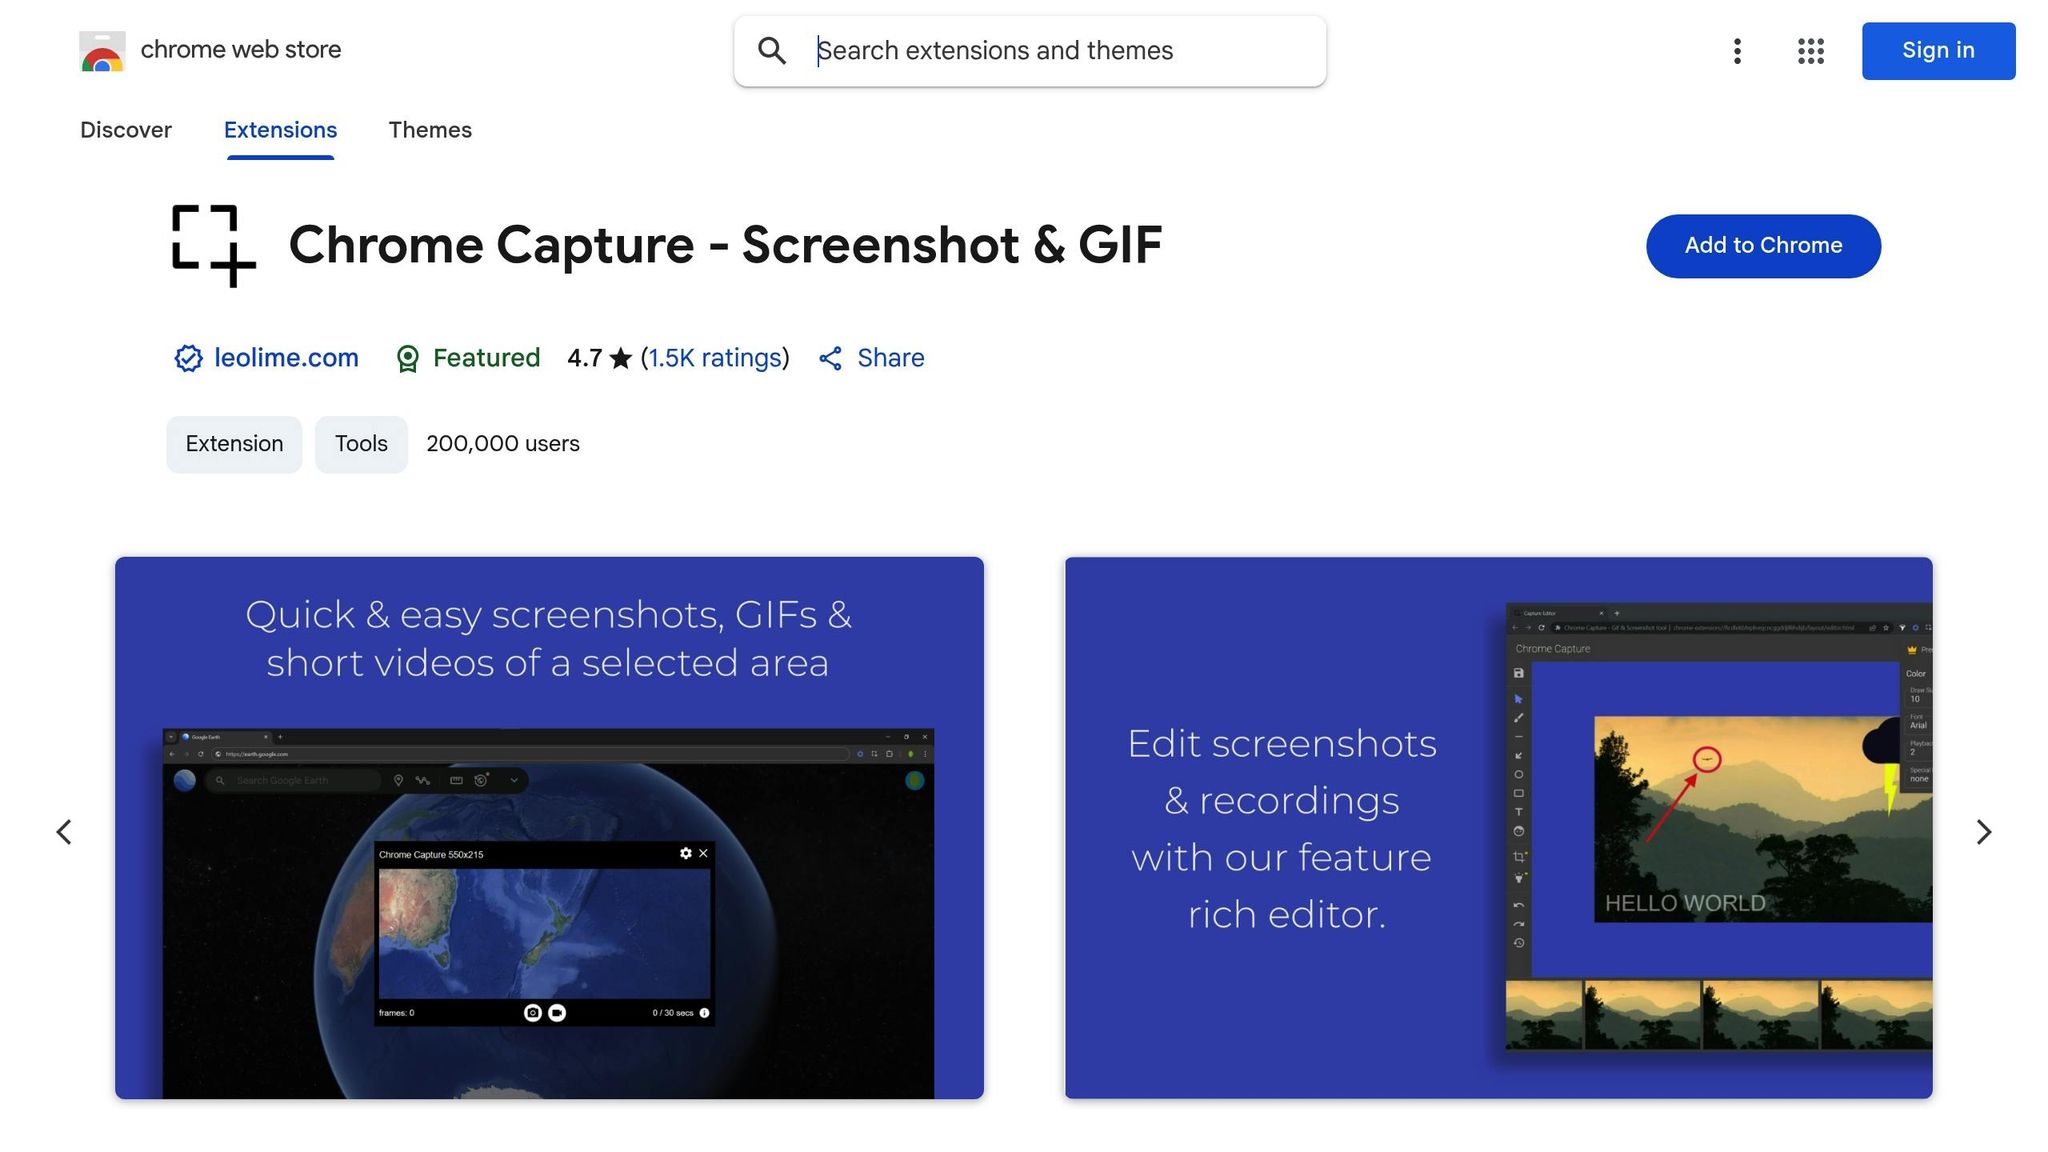
Chrome Capture wraps up our list as a highly popular screenshot and screen recording extension, trusted by over 300,000 users and boasting an impressive 4.7-star rating. What sets it apart is its ability to handle both traditional screenshots and advanced GIF or video recordings - all within Chrome.
Capture Modes
This extension provides three capture options: drag-select for grabbing a specific area, full-page screenshots, and entire desktop captures.
But it doesn’t stop at static images. Chrome Capture allows you to record your screen in GIF, WebM, or MP4 formats, making it perfect for tutorials, workflow demonstrations, or creating dynamic content.
Editing and Annotation Tools
Chrome Capture includes a user-friendly editor designed for both screenshots and recordings. You can easily add text, arrows, and free-hand sketches, as well as resize, rotate, and zoom elements. It even supports SVG icons for a polished, professional look.
For recordings, the editing tools go a step further, offering speed adjustments, frame-by-frame editing, and creative features like Boomerang loops.
Export Formats
When it comes to exporting, you can save screenshots as standard image files and recordings as GIF, WebM, or MP4 formats. Premium users also benefit from high-quality, compressed GIFs for a more refined output.
Free vs. Paid Features and Pricing
The free version of Chrome Capture provides plenty of functionality without requiring a signup. You get unlimited screenshots, full-page captures, and short recordings in GIF, WebM, or MP4 formats. Basic editing tools, like adding text, arrows, and free-hand drawings, are also included.
For those who need more advanced features, the premium upgrade offers extras like unlimited recording time, smoother recordings at up to 24 FPS, and the ability to annotate directly while recording. Premium users can also customize editing colors and fonts, adjust playback speeds, and perform precise frame-by-frame editing. The one-time cost for the premium version is approximately $12 (converted from 11 euros), making it an affordable choice for users who need advanced recording and editing capabilities.
With its combination of robust free tools and affordable premium upgrades, Chrome Capture is a strong contender for anyone looking to create high-quality visual content in 2025.
Feature Comparison Table
Here’s a breakdown of key features, ratings, and pricing for 10 popular screenshot extensions.
| Extension | Capture Modes | Editing Tools | Export Formats | Collaboration Features | Chrome Store Rating | Pricing (USD) |
|---|---|---|---|---|---|---|
| Hoverify | Visible part, full page, select area, element | Screenshot editor with styling tools | JPEG, PNG, WEBP, PDF | - | 4.1/5 | Yearly subscription |
| Awesome Screenshot | Full page, selected area, visible area | Annotation tools, video editing | PNG, JPEG, WebM, MP4 (720p) | Jira, Slack, Trello, Asana, GitHub integration | 4.7/5 | Free; Pro from $6/month |
| GoFullPage | Full page only | Basic annotation, crop, emojis (premium) | PNG, JPEG, PDF | - | 4.6/5 | Free; Premium available |
| FireShot | Full page, selected area, visible part, all tabs, URL lists | Annotations (Pro license required) | PDF with links, PNG, JPEG, GIF | URL and timestamp addition | 4.5/5 | Free; Pro license available |
| Lightshot | Selected area only | Simple text, lines, arrows | PNG | - | 4.4/5 | Free |
| Marker.io | Selected area, full page | Advanced annotation and markup | PNG, PDF | Project management integration | 4.6/5 | Free; Paid plans available |
| Scribe | Selected area, full page | Blur/redact sensitive info (paid) | PDF, HTML | Team collaboration features | 4.5/5 | Free; From $12/month annually |
| CocoShot | Full page, desktop screenshots | Crop, flip, rotate, shapes, text, filters | PNG, JPEG, PDF | - | 4.3/5 | Free |
| Screenshot Tool | Full page, selected area, visible part | Basic arrows, text, paint | PNG | No collaboration features | 4.2/5 | Free |
| Chrome Capture | Selected area, full tab, desktop | Text, arrows, drawings, SVG icons | GIF, WebM, MP4, PNG | - | 4.7/5 | Free; Premium $12 one-time |
Key Insights from the Comparison
- Capture Modes: Options vary widely. Lightshot sticks to selected area captures, while FireShot can handle multiple tabs and even URL lists.
- Editing Tools: Some extensions keep it simple with basic annotations, like Screenshot Tool, while others, like CocoShot, add advanced options like filters, rotation, and shapes. Hoverify offers a professional-grade editor for more detailed work.
- Export Formats: Chrome Capture stands out with support for video formats like GIF, WebM, and MP4, alongside images. FireShot adds an extra touch by exporting PDFs with hyperlinks and timestamps.
- Collaboration Features: Awesome Screenshot integrates seamlessly with productivity tools like Jira, Slack, and Trello. Scribe focuses on team collaboration with features like secure sharing and redaction.
- Pricing: Costs range from free options, like Lightshot and CocoShot, to subscription-based models. Awesome Screenshot starts at $6/month, while Chrome Capture offers a one-time premium option for $12.
With ratings ranging between 4.2 and 4.8 stars, the right extension for you depends on your needs. If you’re after basic functionality, free tools like Lightshot or Screenshot Tool will do the job. For advanced features like team collaboration or versatile export formats, consider options like Awesome Screenshot or Scribe.
Conclusion
Selecting the right tool is all about finding the perfect match between its features, your workflow, and your budget. The right browser extension can make a big difference - whether you’re documenting bugs, creating tutorials, or sharing visual feedback, the right choice can save you time and effort.
Think about what you need most. Are you looking for full-page screenshots? Collaborative annotation tools? Or maybe you prioritize privacy features? Free extensions often cover the basics, but if you’re after advanced tools like cloud storage, detailed editing options, or team collaboration, a paid option might be worth considering.
Before committing, try out free versions to see how well they integrate into your workflow. Look for extensions with strong user ratings and regular updates from trusted developers - these are good signs of reliability and ongoing support. Testing a few highly-rated options can help you find the one that fits your needs perfectly.
FAQs
What should I look for when selecting a screenshot extension for Chrome?
When picking a screenshot extension for Chrome, focus on how simple it is to use, whether it lets you capture entire pages or specific sections, and if it offers tools for editing, like adding annotations or making adjustments. It’s equally important to check the extension’s privacy and security policies to ensure your data stays protected.
Consider features like easy sharing options and compatibility with other productivity tools to make your tasks more efficient. The best extension will match your unique needs, whether you’re working on web development, design projects, or everyday productivity tasks.
What privacy and security factors should I consider when choosing a Chrome screenshot extension?
Privacy and Security Considerations for Chrome Screenshot Extensions
When picking a Chrome screenshot extension, privacy and security should be at the top of your checklist. Some extensions might ask for unnecessary permissions or, worse, could misuse your data - like capturing sensitive information without your knowledge or exposing it through security flaws.
To protect yourself, go for extensions that are upfront about their permissions, have positive user feedback, and come from trustworthy or verified developers. Open-source options or those with well-defined privacy policies can also add an extra layer of confidence.
By focusing on these elements, you can safeguard your data and use screenshot tools with peace of mind.
Are there any free Chrome extensions that offer advanced screenshot tools, like editing and team collaboration?
Some free Chrome extensions offer advanced screenshot features like built-in editing tools and options for team collaboration. These extensions simplify the process of capturing, annotating, and sharing screenshots, helping users work more efficiently. They’re a great way to boost productivity and enhance teamwork without spending a dime.
