
Visual testing is essential for React apps to ensure UI consistency and catch bugs early. By comparing UI snapshots over time, it helps detect layout issues, styling conflicts, and unintended changes before users see them. Three methods do most of the work: manual review for early design validation, snapshot tests for individual components, and automated regression tests wired into your CI/CD pipeline. This guide walks through each of them, plus where tools like Hoverify fit for responsive testing and debugging.
Visual Testing Basics
Visual testing has become a key practice for maintaining consistent user interfaces (UI) in React applications. With UI rendering issues being a common challenge, effective visual testing strategies are crucial.
Testing Methods
There are three main methods used in visual testing for React applications:
| Testing Method | Description | Best Use Case |
|---|---|---|
| Manual Testing | Relies on human inspection of UI elements. | Ideal for early design validation. |
| Automated Regression | Uses tools to compare UI snapshots over time. | Best suited for continuous integration workflows. |
| Snapshot Testing | Captures a component’s DOM structure as a reference. | Useful for rapid iteration on individual components. |
Together, these methods create a strong framework to ensure UI consistency. Unlike functional tests, visual regression testing identifies unintended UI changes by comparing snapshots.
React Components and Testing
React’s component-based architecture plays a significant role in shaping visual testing strategies. Since components are reusable, a visual change in one can ripple through the entire application. This architecture introduces both opportunities and challenges for testing.
Visual testing in React typically follows a hierarchical approach:
- Individual Component Testing
This involves testing isolated components to ensure they render correctly, no matter the context. It catches a large share of visual defects and runs quickly. - Integration Testing
When multiple components interact, visual tests ensure layouts remain consistent and styling conflicts are avoided. This helps maintain visual harmony across the app. - Full-Page Testing
End-to-end visual tests capture the complete user experience and surface bugs that component-level tests miss. These tests take longer to run but are essential for overall consistency.
Visual testing is more critical than ever, since a poor visual experience makes users less likely to return to a site. By combining snapshot tests for DOM structure with screen tests for visual appearance, teams can ensure high-quality UIs while maintaining development speed.
To achieve the best results, focus on component-level testing during rapid development phases and incorporate full-page visual tests before major releases. This balanced approach catches defects that functional testing alone would miss.
Testing Tools and Setup
Setting up visual testing for React apps involves choosing the right tools and configurations. Set up correctly, modern frameworks catch most visual bugs before they ship.
React Testing Tools
There’s a variety of visual testing tools, each tailored to specific needs:
| Tool Type | Primary Use Case | Key Features |
|---|---|---|
| Snapshot Testing | Component-level verification | Compares DOM structure, quick execution |
| Screen Testing | Full UI validation | Ensures cross-browser compatibility, pixel-level accuracy |
| Visual Regression | Automated change detection | Supports cloud collaboration, integrates with CI/CD pipelines |
Before diving into visual tests, it’s crucial to establish a solid testing environment. These tools provide the foundation for building a reliable visual testing suite.
Setting Up Tests
To get started with visual testing, follow these steps:
-
Initialize the Testing Environment
Begin by setting up your testing framework. For instance, here’s how you might define a simpleAvatarcomponent:const Avatar = ({ src, className }) => { const [fallback, setFallback] = React.useState(false); const onFallback = React.useCallback(() => setFallback(true), []); return ( <div className={className}> {fallback ? <AvatarFallback /> : <img src={src} onError={onFallback} />} </div> ); }; -
Configure Test Parameters
Define thresholds and baseline snapshots. This ensures that intentional design changes are allowed while still catching unwanted regressions. -
Integrate with CI/CD
Automate visual tests within your continuous integration pipeline. This step helps detect visual regressions early in the development process.
With these steps in place, visual testing becomes more efficient and reliable.
Hoverify Visual Testing
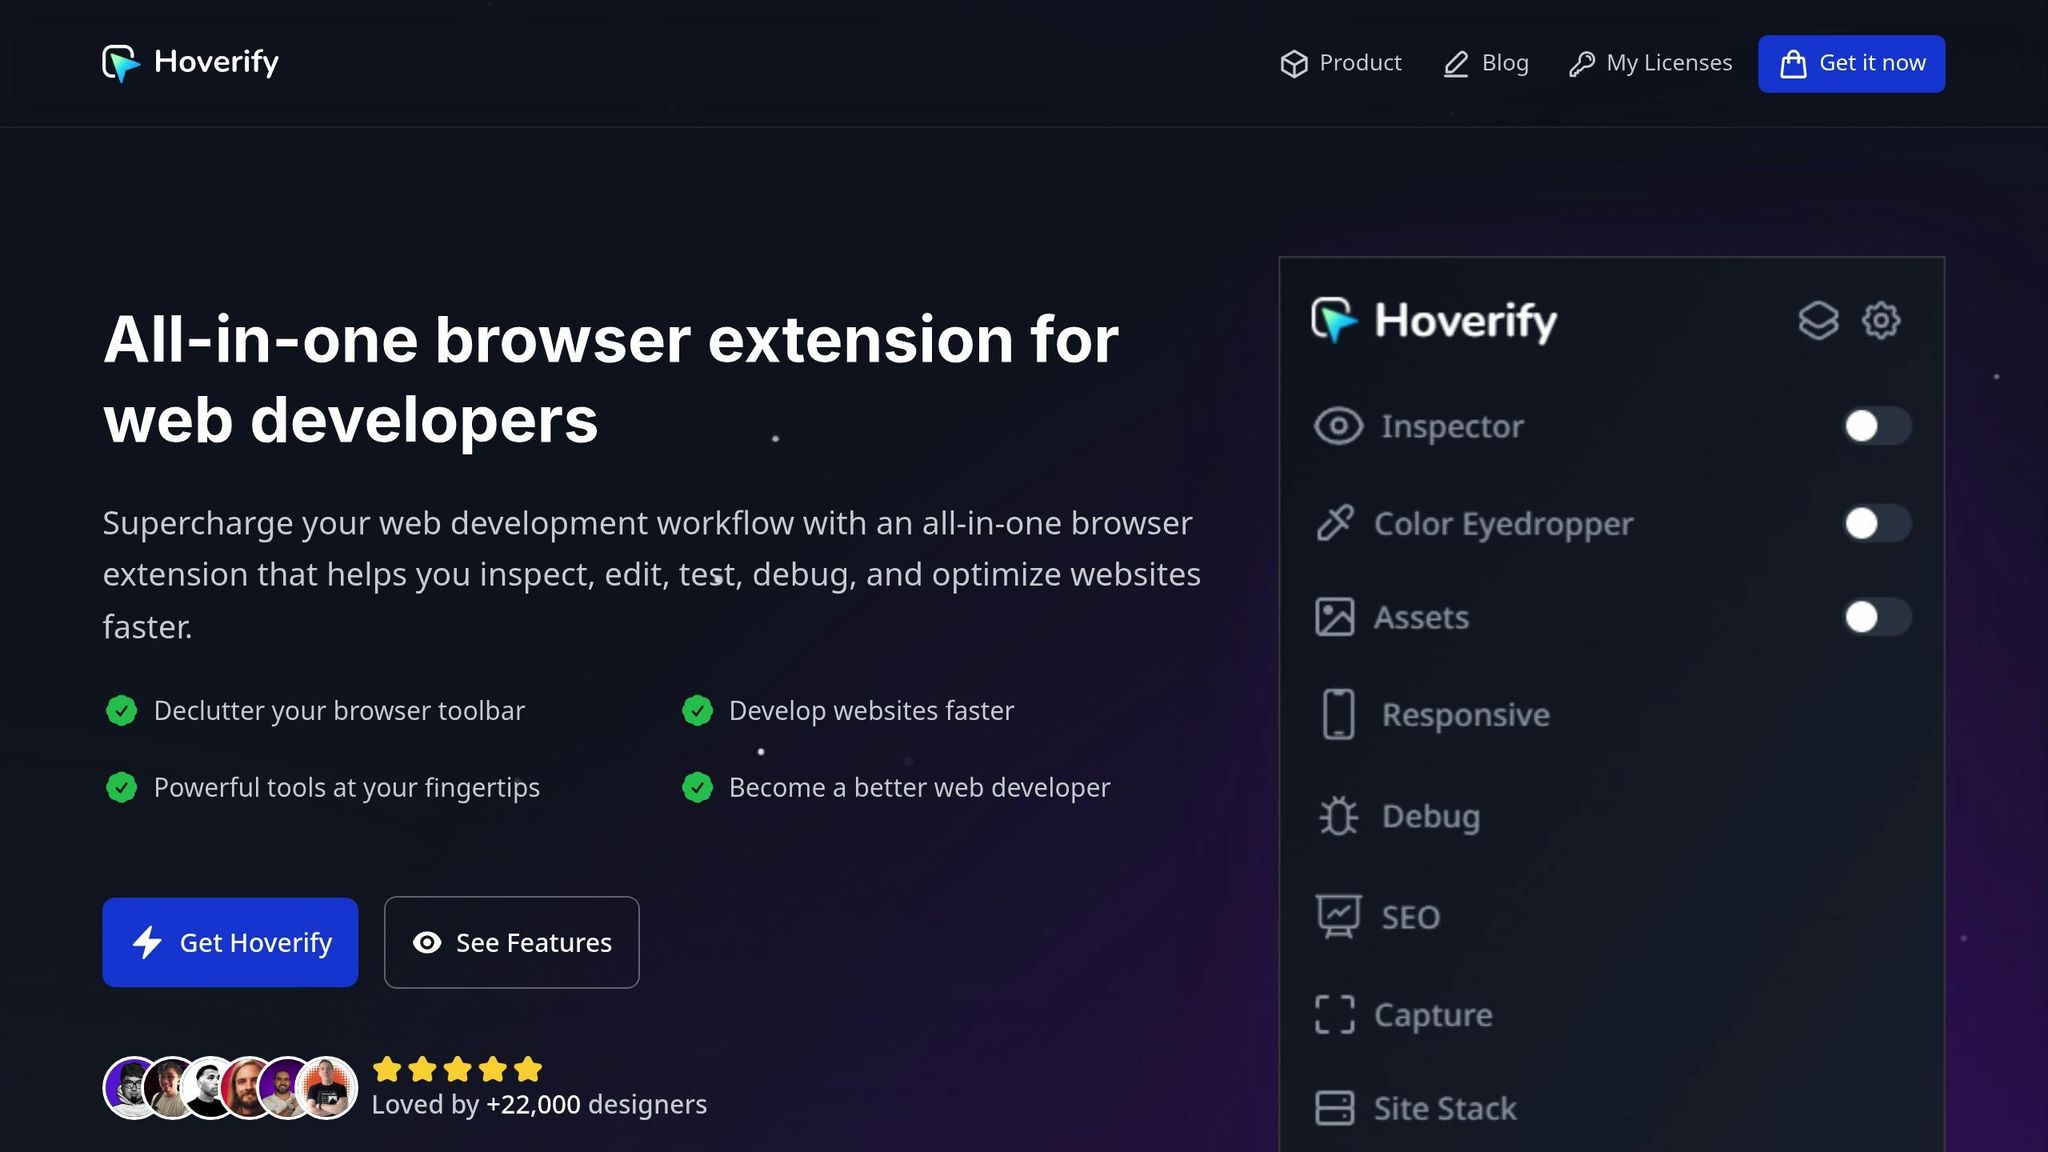
Hoverify is a tool designed to simplify and enhance visual testing workflows. It offers several features to address common testing challenges:
- Inspector Tool: Lets you inspect and edit React components in real time, making it easier to spot visual inconsistencies across different states.
- Responsive Viewer: Simultaneously tests component rendering across multiple device sizes, ensuring consistent behavior across breakpoints.
Testing Best Practices
When it comes to visual testing for React applications, having a structured approach is key to achieving reliable and consistent results. Here’s how you can refine your testing process for better outcomes.
Test Automation
Integrating visual tests early in your development workflow is essential. Consider these phases to streamline your efforts:
| Testing Phase | Implementation | Key Benefits |
|---|---|---|
| Pre-merge Checks | Automated snapshots on feature branches | Detect visual regressions early |
| CI/CD Pipeline | Parallel test execution across environments | Get faster feedback during development |
| Production Deployment | Automated baseline comparisons | Maintain consistent quality assurance |
By configuring tools to capture and compare screenshots before and after changes, you can detect even the smallest visual discrepancies. This pixel-by-pixel comparison is especially useful for managing complex or large-scale React projects.
Managing Test Challenges
Visual testing comes with its own set of challenges, especially when dealing with dynamic content and avoiding unnecessary false positives. Here’s how to tackle these issues effectively:
Handling Dynamic Content
- Use
cy.intercept()to mock API responses and stabilize dynamic elements. - Apply
percyCSSto hide or mask elements that frequently change, like timestamps or animations. - Set sensitivity thresholds to ignore minor pixel differences that don’t impact the user experience.
Resolving Errors
- Log and document issues in your defect tracking system for better visibility.
- Share regression reports with the team and update baselines only after thorough review.
These strategies help ensure that your visual tests remain accurate and actionable, without being bogged down by noise.
Multi-Platform Testing
With mobile devices accounting for more than half of global web traffic, testing across multiple platforms is no longer optional. It’s essential to ensure your application performs well on both browsers and devices.
Browser Testing
Focus on testing across major browsers based on your user demographics. This ensures compatibility and a seamless experience for your audience.
Device Testing
- Prioritize testing on real devices instead of relying solely on emulators for more reliable results.
- Run tests in parallel across various screen sizes and resolutions to save time.
- Check responsive design at standard breakpoints to verify proper behavior.
Using platforms that provide access to real iOS and Android devices can help you achieve thorough coverage across different operating systems and device combinations. This ensures your application is ready for real-world usage, no matter where or how it’s accessed.
Conclusion
Visual testing plays a crucial role in React applications, helping maintain UI consistency and catching potential issues before they reach production.
Key Points
Visual testing offers clear advantages by automating regression detection and enhancing quality assurance. Here’s why it matters:
- Detects layout changes early, boosting confidence in UI updates
- Ensures consistent branding across devices and browsers
- Cuts development costs by identifying issues early
- Simplifies quality assurance workflows
These benefits provide a strong foundation for implementing an effective visual testing strategy.
Implementation Steps
To implement visual testing in React, follow these steps:
| Phase | Action Items | Expected Outcome |
|---|---|---|
| Setup | Configure the testing framework and create baseline snapshots | Build a reliable testing foundation |
| Integration | Incorporate tests into the CI/CD pipeline with initial references | Automate and streamline testing workflows |
| Maintenance | Regularly review and update baselines | Maintain consistent quality over time |
For optimal results, consider these best practices:
- Start with component-level tests to quickly identify issues
- Use cross-device testing to ensure a consistent user experience
- Automate baseline comparisons during deployment
- Create clear workflows for reviewing and addressing visual changes